
Modern bicycles can be tricky things. That means that even relatively simple tasks, such as replacing disc brake pads, can often be done better. Looking around the internet, there are hundreds of guides for how to replace disc brake pads, but it shocks me how many overlook the fact that pushing filthy pistons back into a hydraulic brake is a bad idea.
This edition of Threaded has a simple takeaway: clean your disc brake pistons! Why it matters, how to do it best, and what tools make the task easier are all explained within.
This isn't a guide to replacing disc brake pads. Rather it's a deep dive into some nuanced steps that are often overlooked (or just unknown). If you are replacing pads (or rotors), then be sure to also check out my guide to disc brake bed-in.
Why?
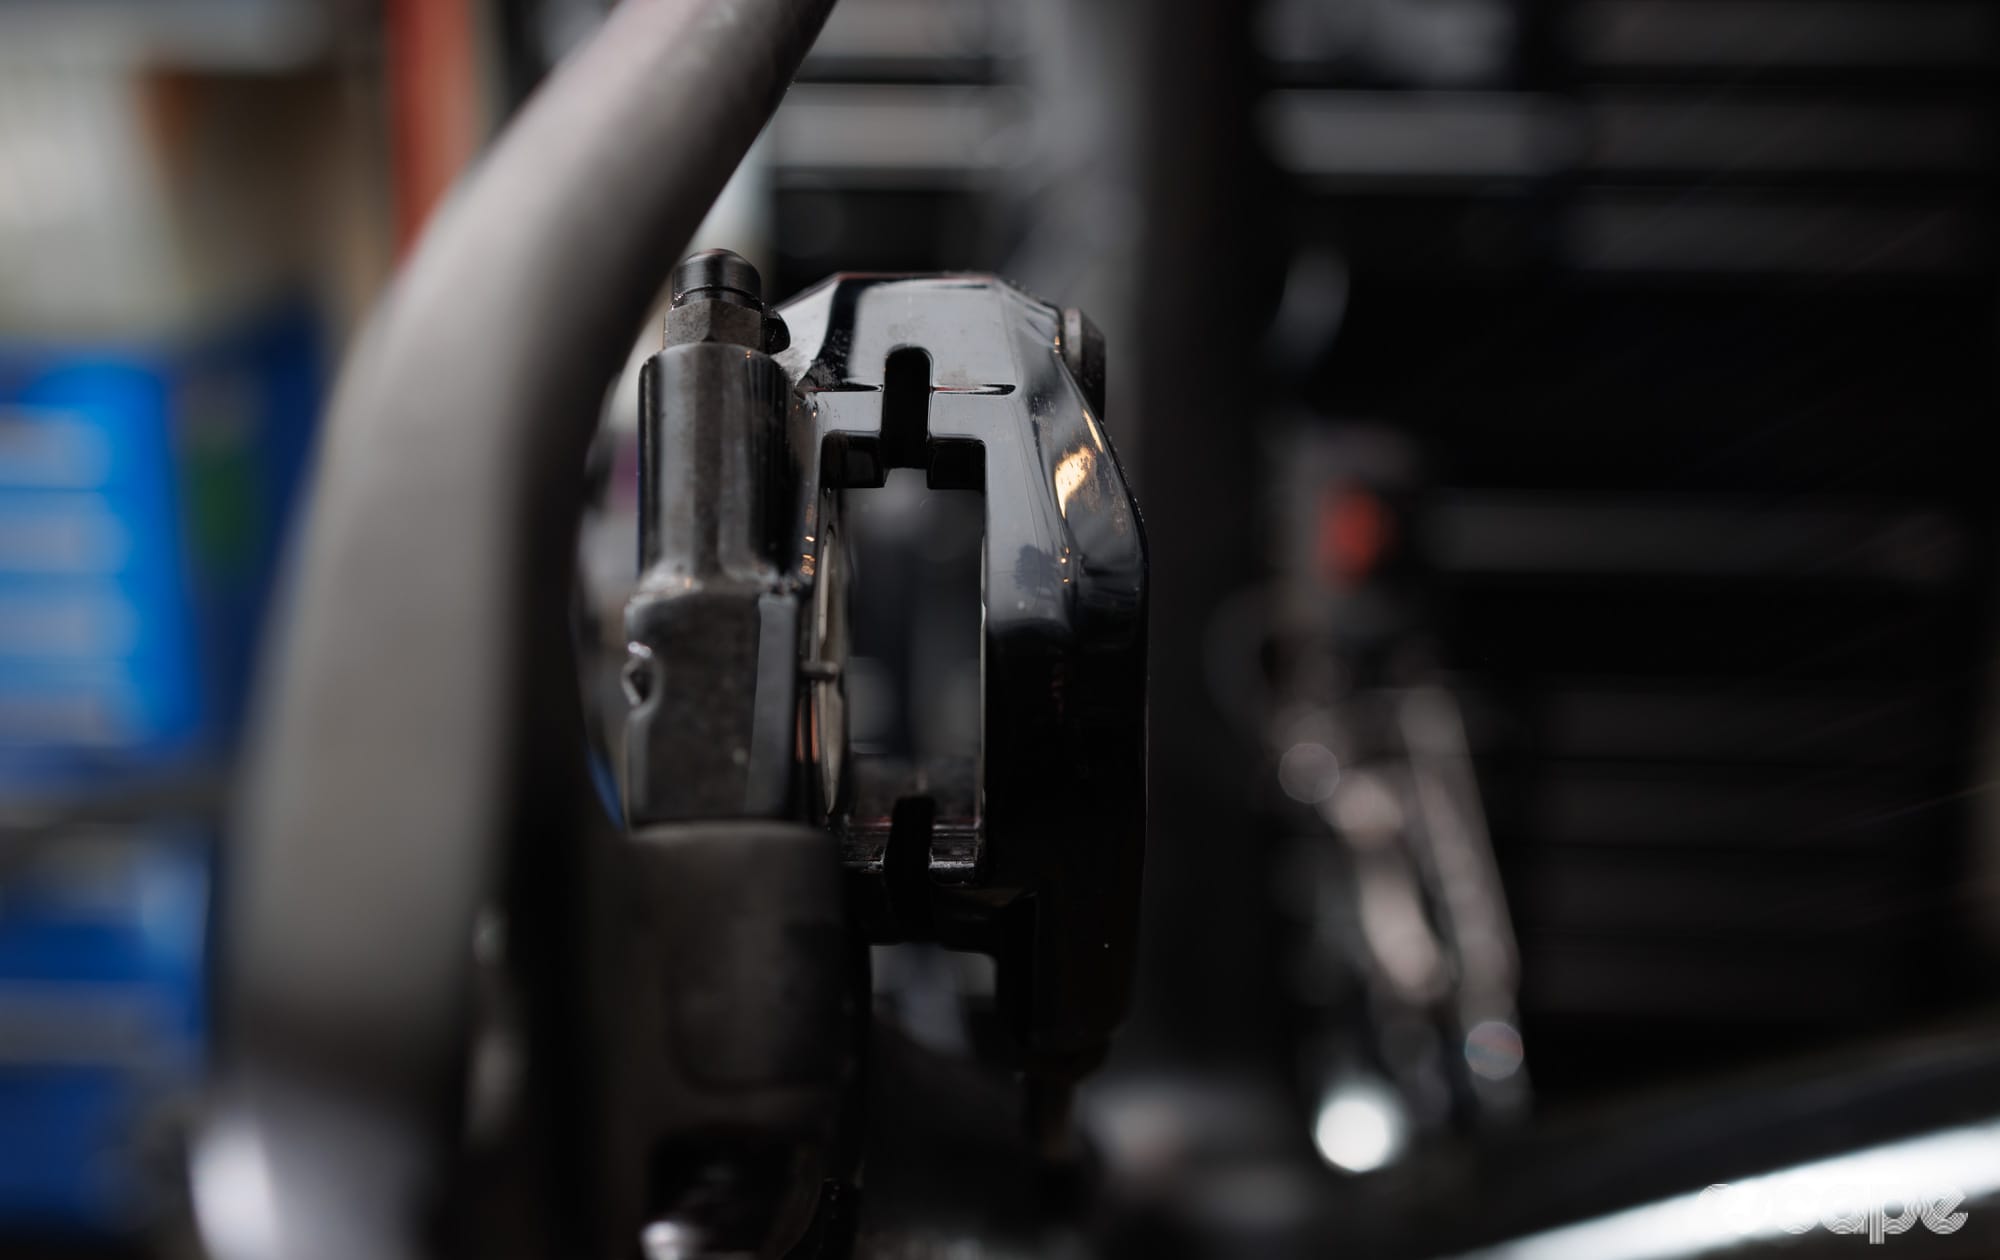
Hydraulic disc brakes may seem like wizardry, but their function is surprisingly simple. Whether it’s a flat bar or dropbar brake, pulling the lever moves a piston that then pushes the stored fluid from the master cylinder (inside the lever casing), into the brake hose, with the hydraulic pressure continuing through to the caliper. At the caliper, that hydraulic pressure pushes out the pistons, of which most common brakes feature two or four. Those pistons push directly onto the back of the brake pads, which then clamp onto the wheel-mounted disc rotor.
When the brake is applied, those caliper pistons will advance until brake contact is made, and once the braking force is released, the pistons rely on flex in their respective rubber seals to retract back into their bores.
In modern bicycle hydraulic disc brakes, the caliper pistons will automatically advance as pads wear, continuously drawing more fluid from the master cylinder reservoir to fill the void behind those further advanced caliper pistons.
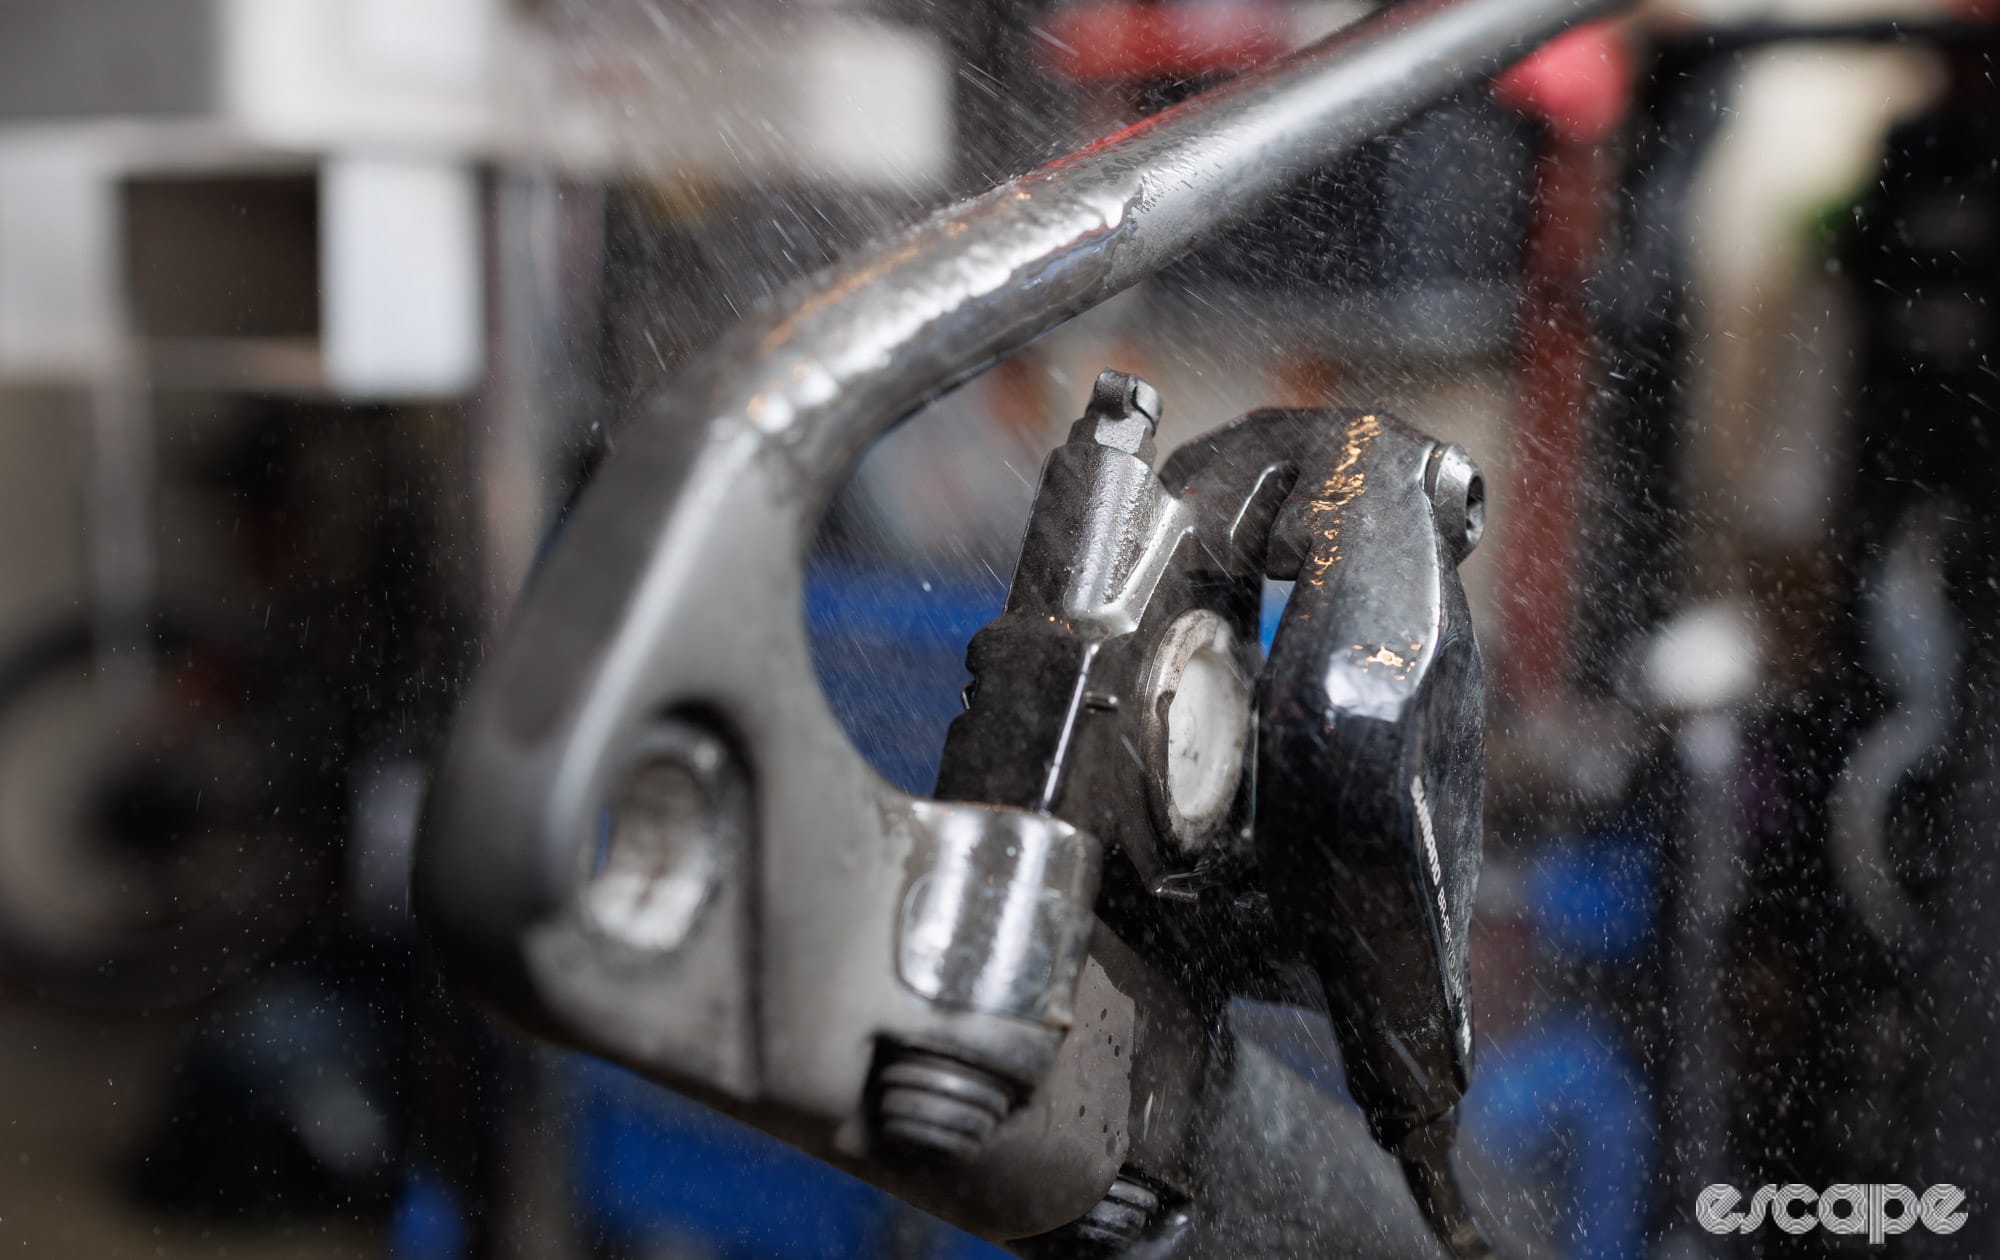
It’s a simple and well-proven design. Still, such simplicity relies on the pistons providing a smooth and clean surface. With use, dust from wearing brake pads and grit from the environment can lead to issues such as reduced brake feel, poor braking performance, pistons that are stubborn to retract (aka, rubbing pads), degraded fluid, leaks, or in severe cases, total brake failure.
“Not cleaning the caliper out before resetting the pistons,” replied Jon Lindgren (aka @angrybikemechanic) when asked the most common mistake he sees with changing brake pads. “At the bare minimum, ensure the pistons/bore area is free from grit/brake dust before jamming them back in.”
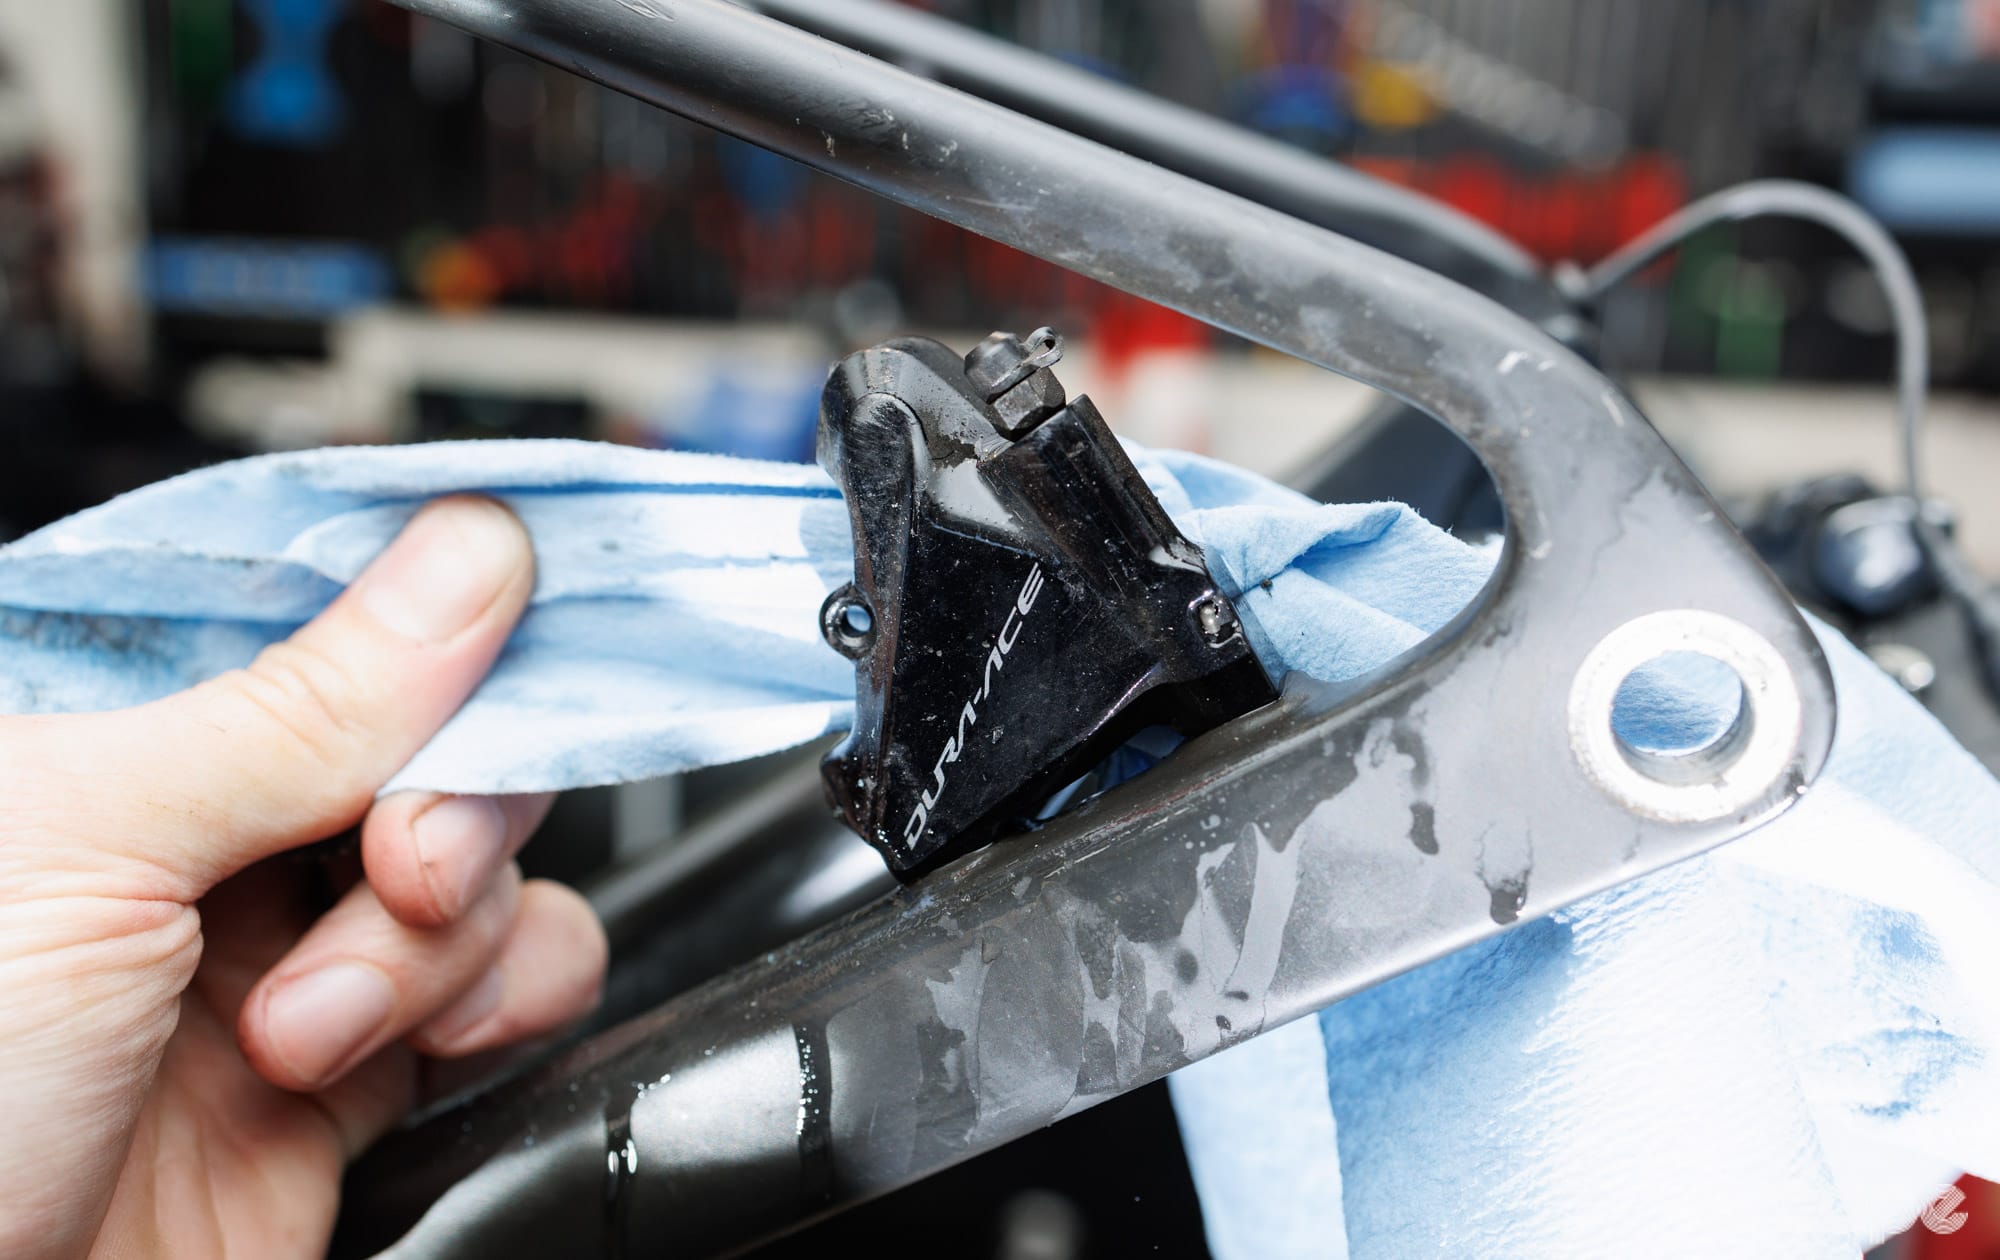
All of this is to say that the all-too-common first step of prying the old dirty pads apart before they’re removed is like putting a dirty towel straight into the tumble dryer – a big no-no in my books. Rather than push dirt into the delicate system, we want to start clean.
The 'bare minimum' piston clean
At the simplest level, a little bit of tap water can go a long way to reducing the dust floating around in your brake system. With a watering can or the shower setting of a garden hose, simply spray the brake calipers when it’s time to clean your bike. You don’t need any chemicals or scrubbing here (in fact, it's arguably best to avoid such things) – just a little water will help flush away the worst of the dust.
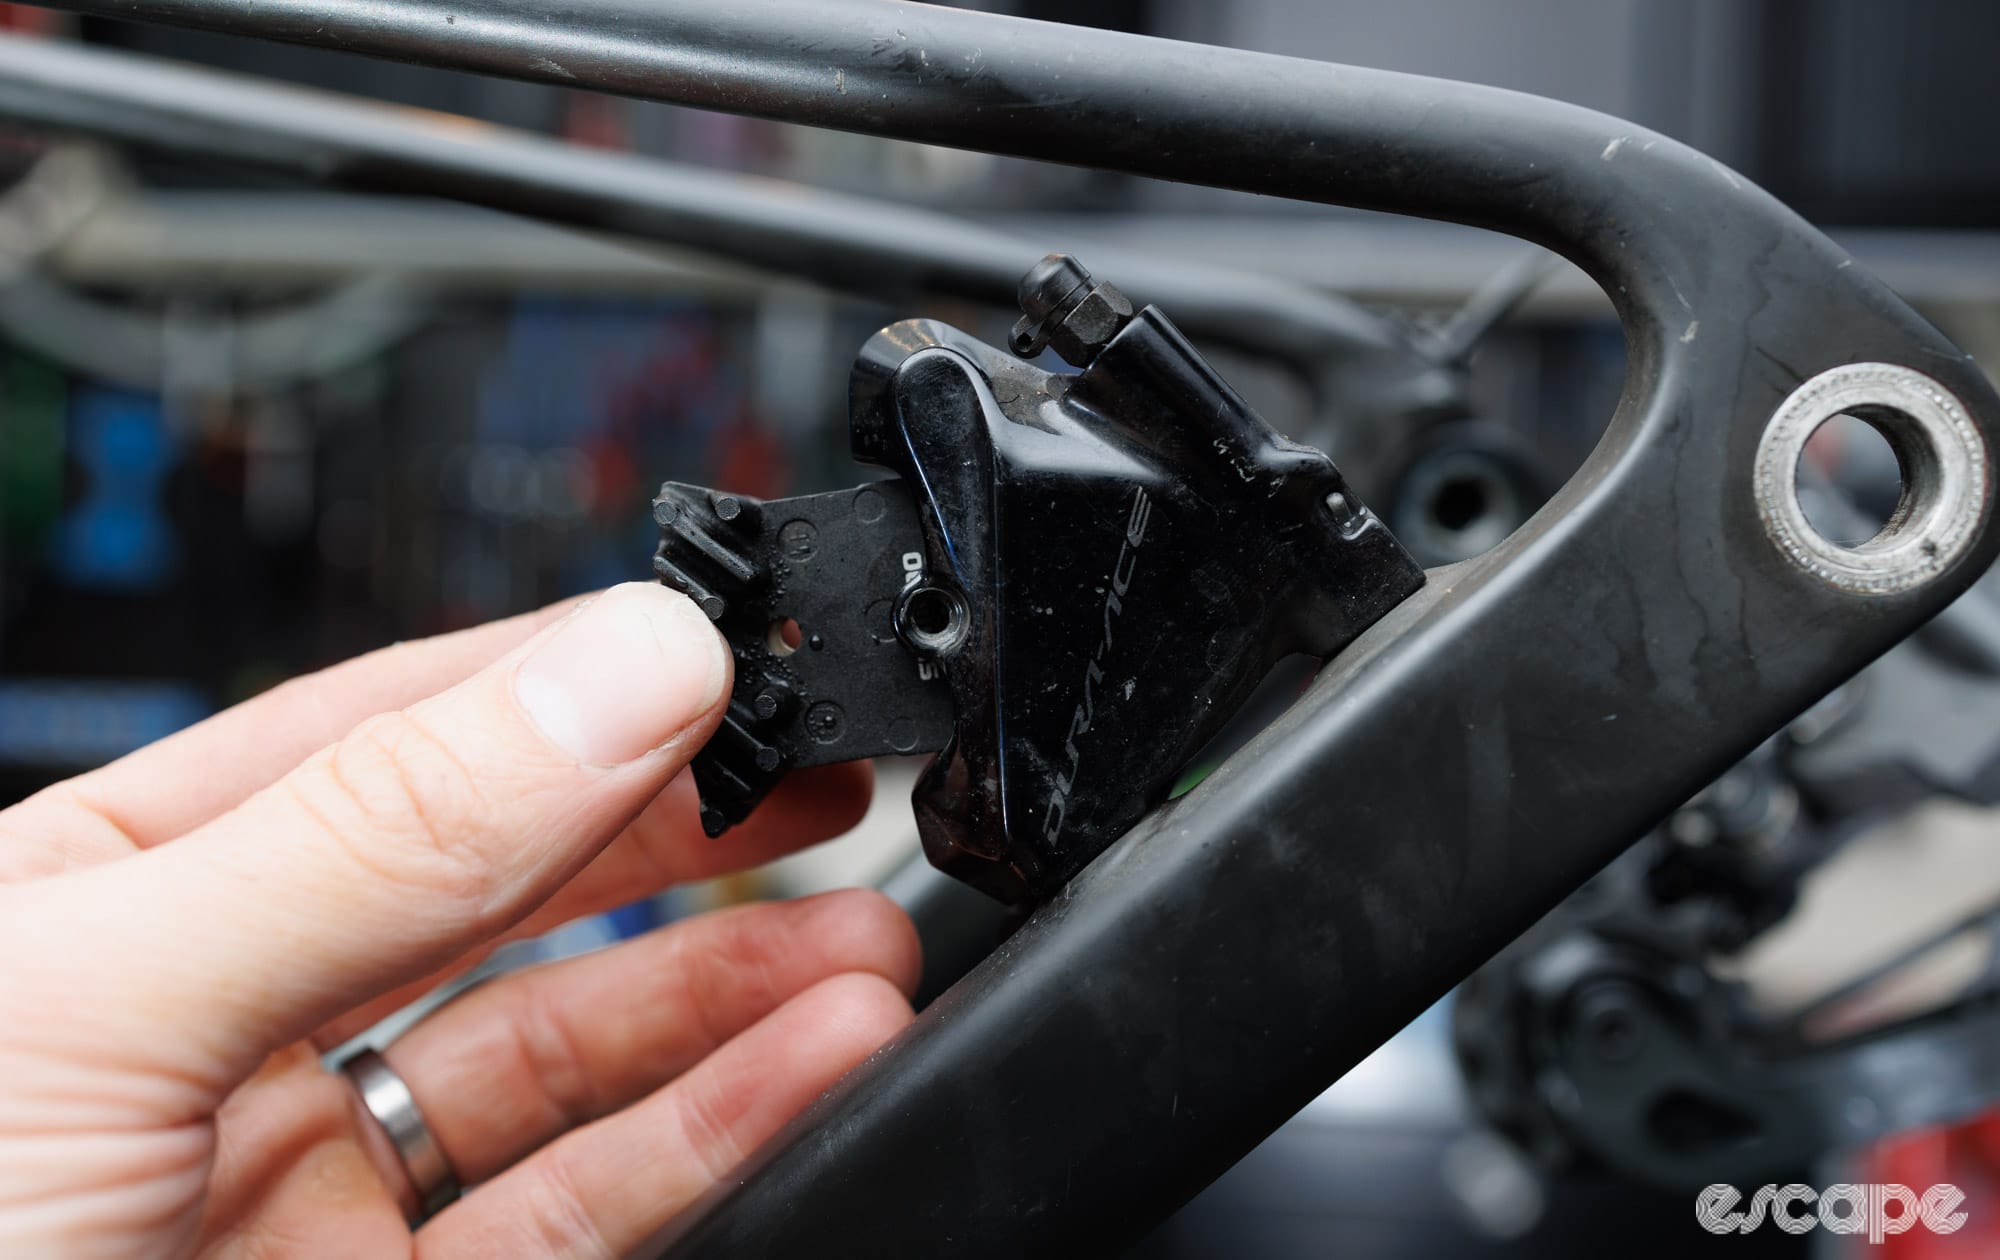
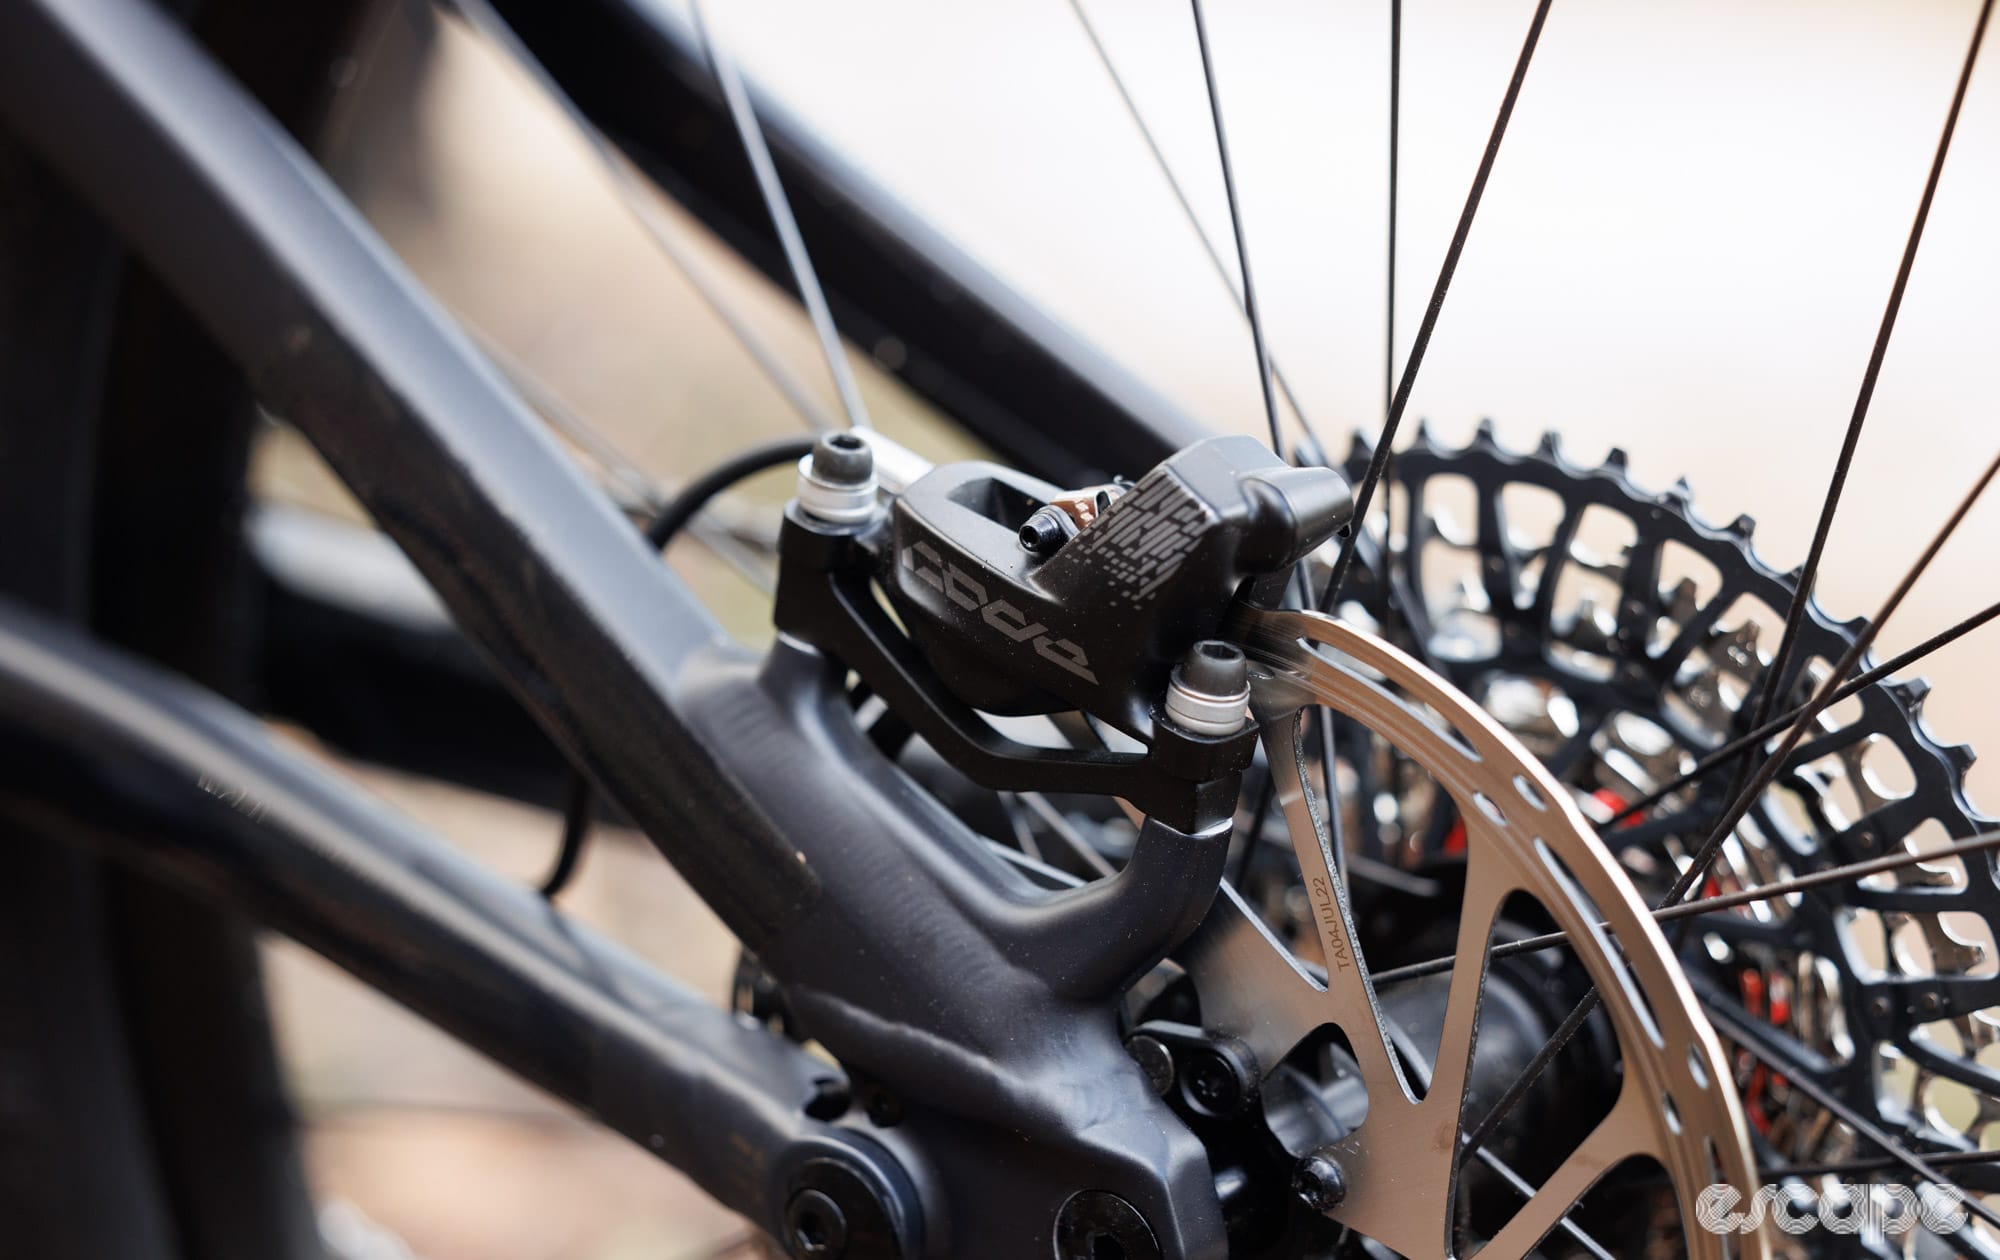
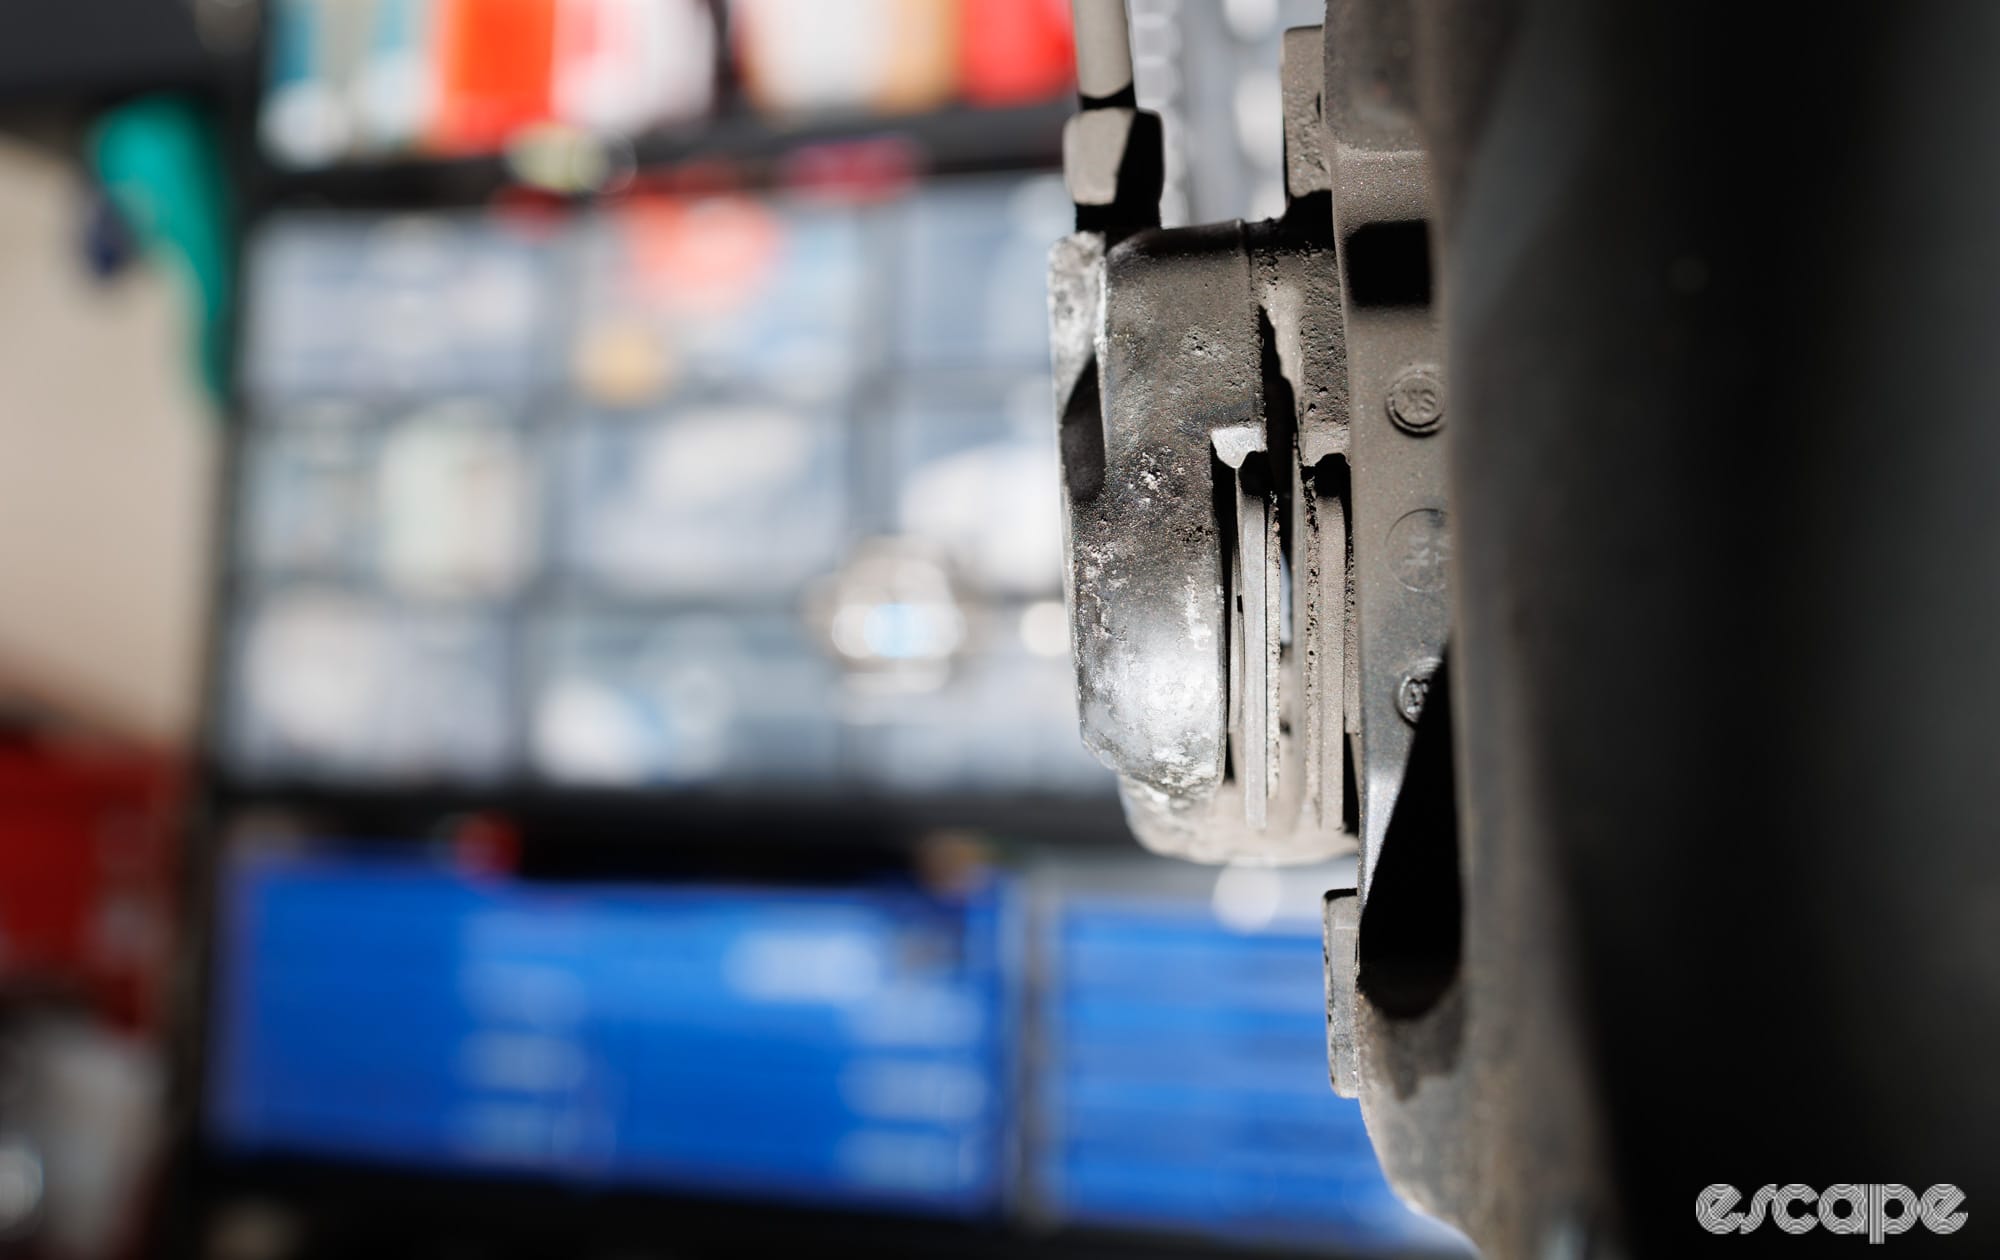
To clean your brake pistons correctly, you'll need to remove the wheel and disc brake pads. If this all feels daunting, I suggest having a bike mechanic handle this task. With the wheel out and pads removed, you should see the pistons marginally exposed.
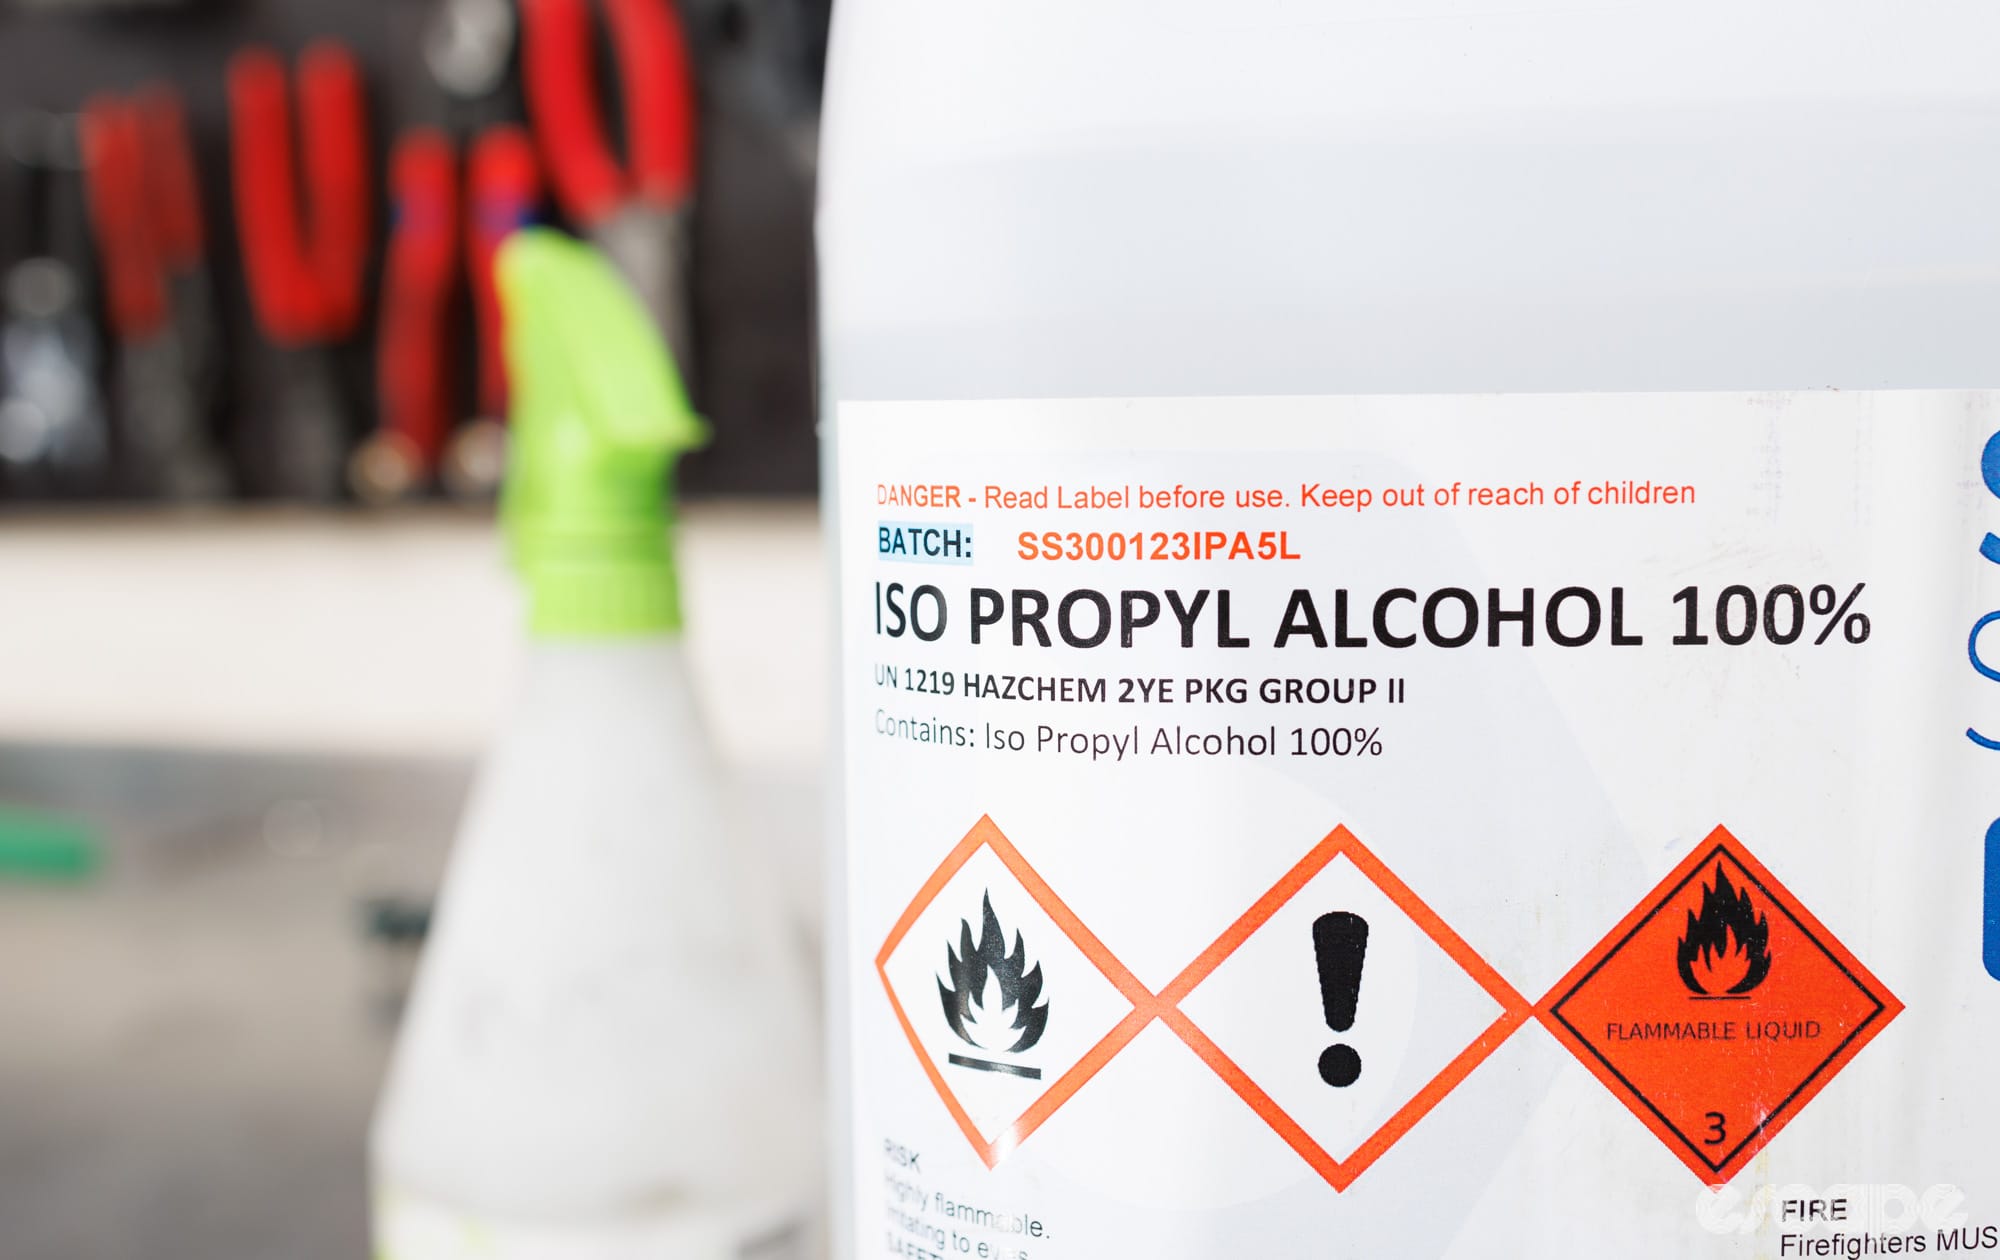
From here, we simply want to clean out the caliper and the exposed portion of the piston. For this, every brake manufacturer recommends the use of isopropyl alcohol, and I certainly agree. Personally, I have ispropyl alcohol (bought from a chemical supplier) in a spray bottle and use a 20 mm Vikan bottle brush to quickly scrub the inside of the caliper. These bottle brushes have proven to be just about perfect for slotting into most brake calipers, and the stiff bristles do an effective job without wasted time.
A helpful tip I got from Troy Laffey at SRAM many years ago is that these Vikan brushes are best when they're shortened (cut the braided steel shaft; the plastic handles simply reverse-thread in place).
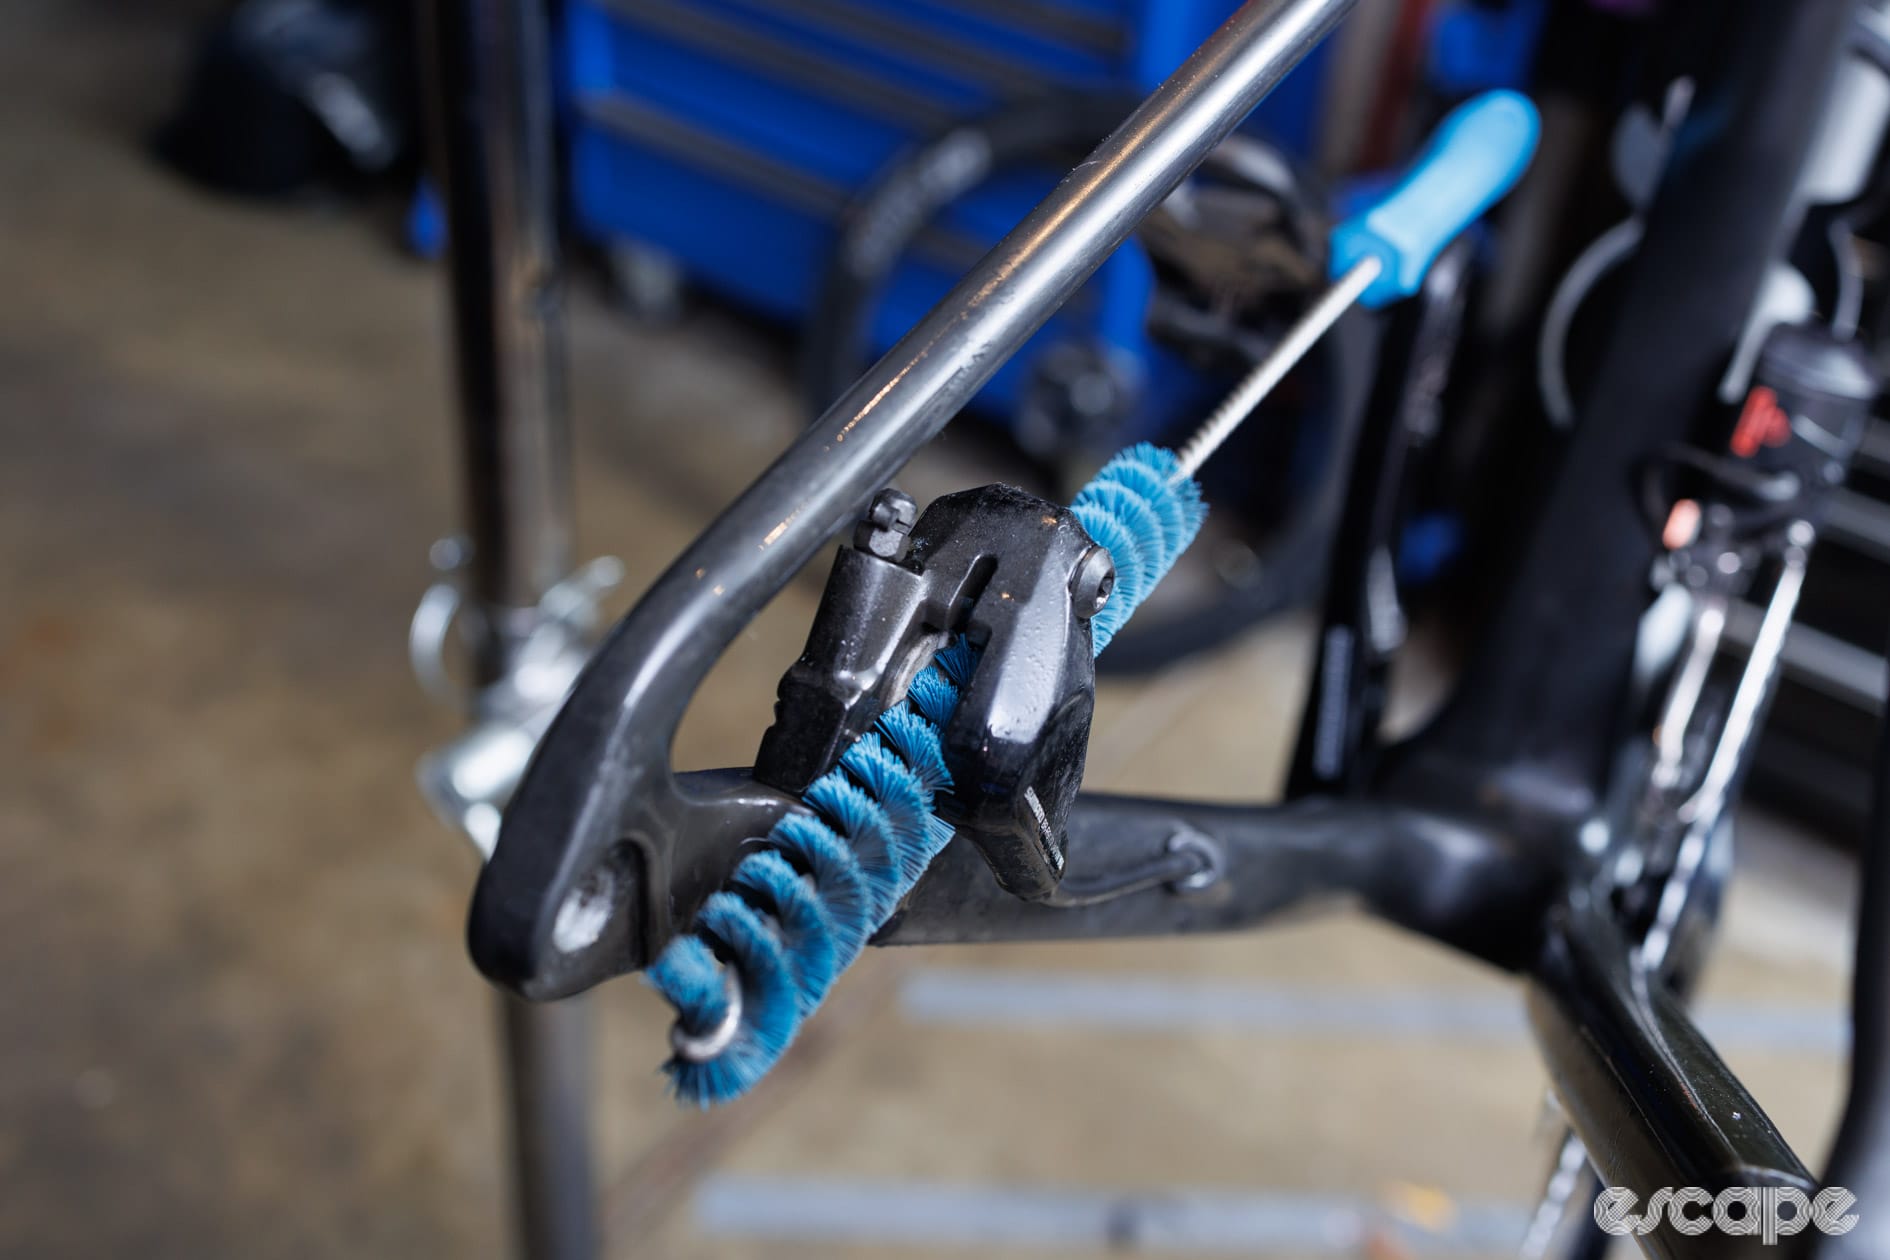
A Vikan 20mm bottle brush and isopropyl alcohol are two staples when I'm working on a disc brake bike.
Extremely dirty calipers may need a few rinses, but you can skip a lot of chemical waste by starting with a water rinse before moving to the isopropyl alcohol.
I then like to floss the caliper and wipe the exterior corners with a clean piece of paper towel. Alternatively, and if you don’t have a bottle brush, then flossing with a clean rag or painstakingly wasting cotton buds will get things clean, too.
This isn’t a thorough clean (I'll get to that), but those pistons are now ready to be pushed back into their respective bores if you're chasing the easiest path.
Pressing the pistons back
OK, so the inside of the caliper is now clean and so are the previously exposed sections of the pistons. We’ve now reached the step where you’re most likely to damage something if done without care.
The general rule here is to avoid the use of sharp metal tools. Do things smoothly and gently. Keep the pistons moving as evenly and squarely to the caliper as possible. Always try to push on the whole area of the piston, and never one edge. And finally, never use excessive force; instead, watch for increasing resistance (more on this later).
There are countless approaches to pushing pistons back, and it can be fun to hear all the different methods mechanics have. Let’s look at a few common ones.
Threaded is an ongoing series created for professional mechanics and enthusiast home mechanics in search of continuous improvement, or at least ways to bring more efficiency, precision, or just joy to the work.
It’s photographed, written, and created exclusively by me, Dave Rome. With approximately 20 years of experience on the tools, and more than a decade of documenting others doing it, I aim to share my passion for finding quality tools and tips on how best to use them.
This series takes many hours in the week to create and I feel the information shared is worth paying for. You will hit a paywall soon. It's merely through the support of our members (readers) that this content exists.
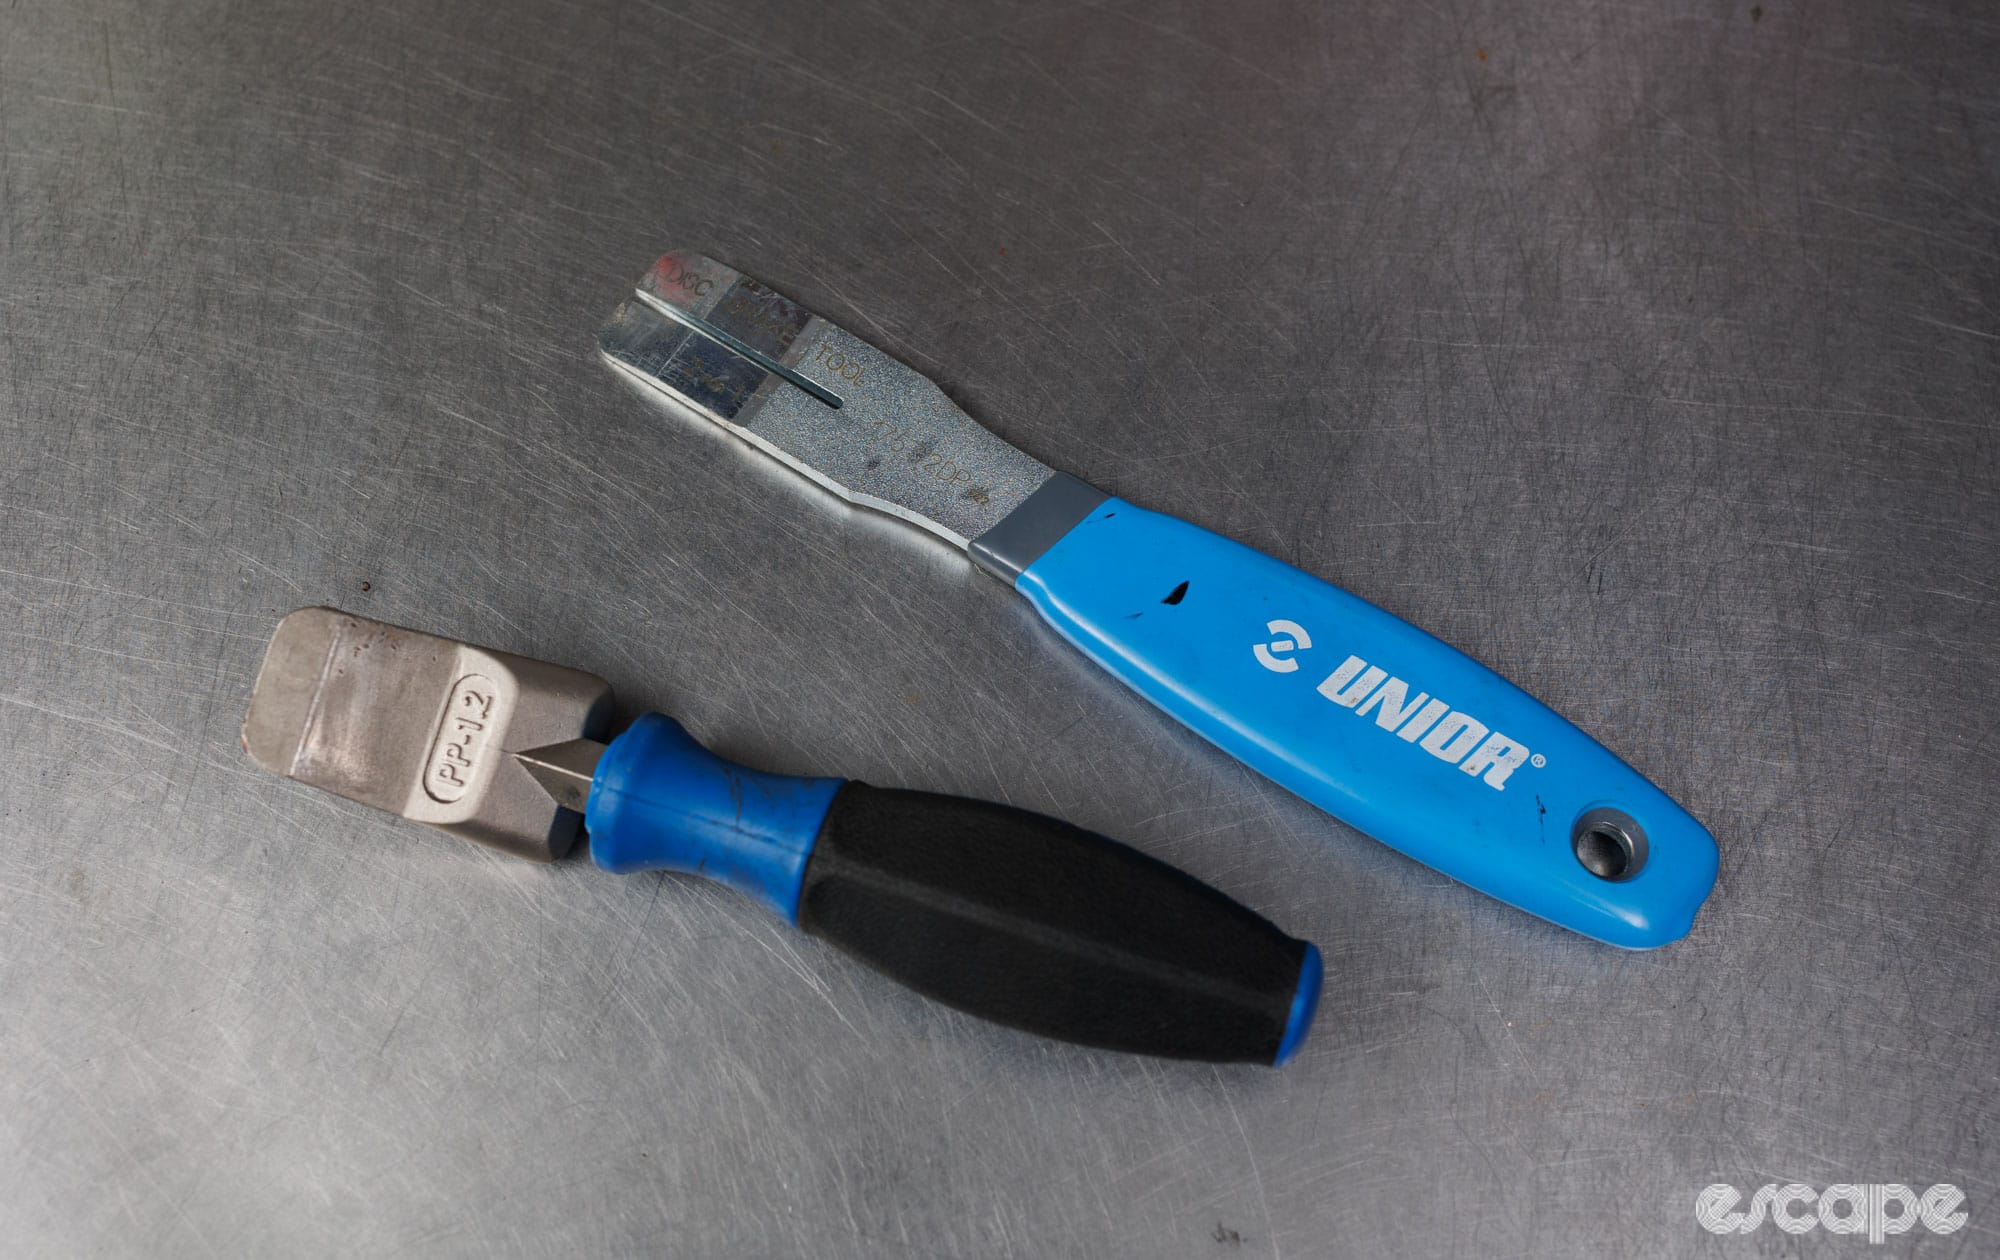
The most basic method for pushing pistons back is to reinstall the old pads, and then use a piston spreader tool (such as the Park Tool PP1.2 or Unior 2 in 1) or a large flat-blade screwdriver to gently spread the pads apart. Again, avoid using excess force.
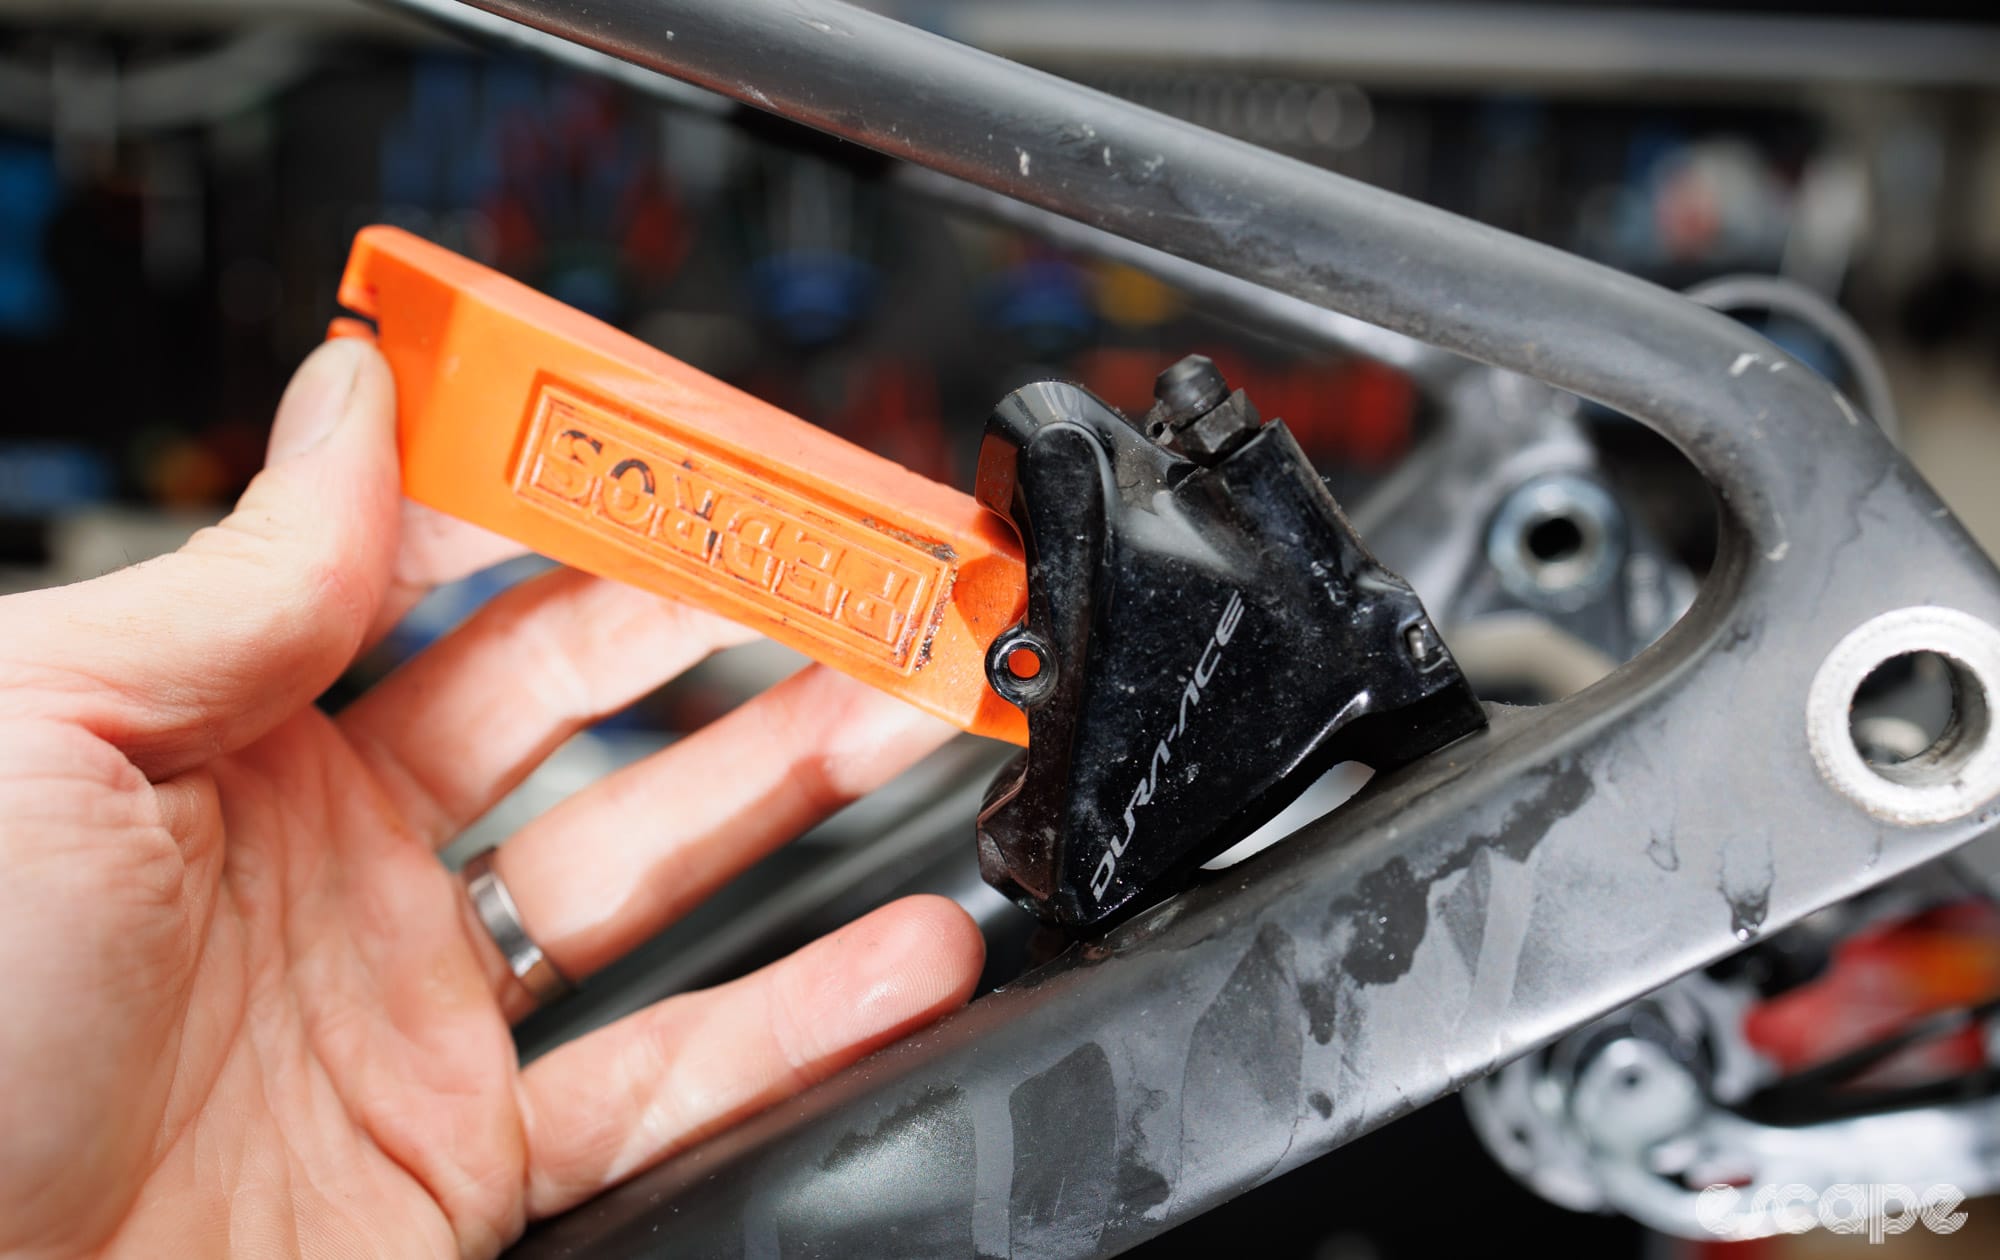
I get far greater control and feel for the task through having no pads in place and then using a plastic tyre lever. Specifically, it’s a Pedro’s tyre lever for most brakes (after extensive testing, I can confirm all the available colours work equally well), but I’ll reach for a slimmer Park Tool TL-1.2C for low-end Shimano calipers, certain Magura calipers, or SRAM Mavens that have a narrower slot. Be sure to push on the centre of the piston or use the flat, middle section of the tyre lever.
There are now also dedicated piston press tools which aim to ease the task and reduce the risk of pushing pistons back unevenly. The SRAM Ultimate Piston Press tool is a joy to use if the caliper is wide enough to fit it. Copies of this one do exist, but as my previous review notes, the quality isn’t quite the same. There are more affordable and more compact versions from the likes of Sumart.
Meanwhile, Escape member Chris Heerschap (CMH Design) has a 3D-printed wedge tool that he sells on Etsy and also has the files available for free download (there are sellers on Temu and AliExpress that have stolen the design, which is shitty).
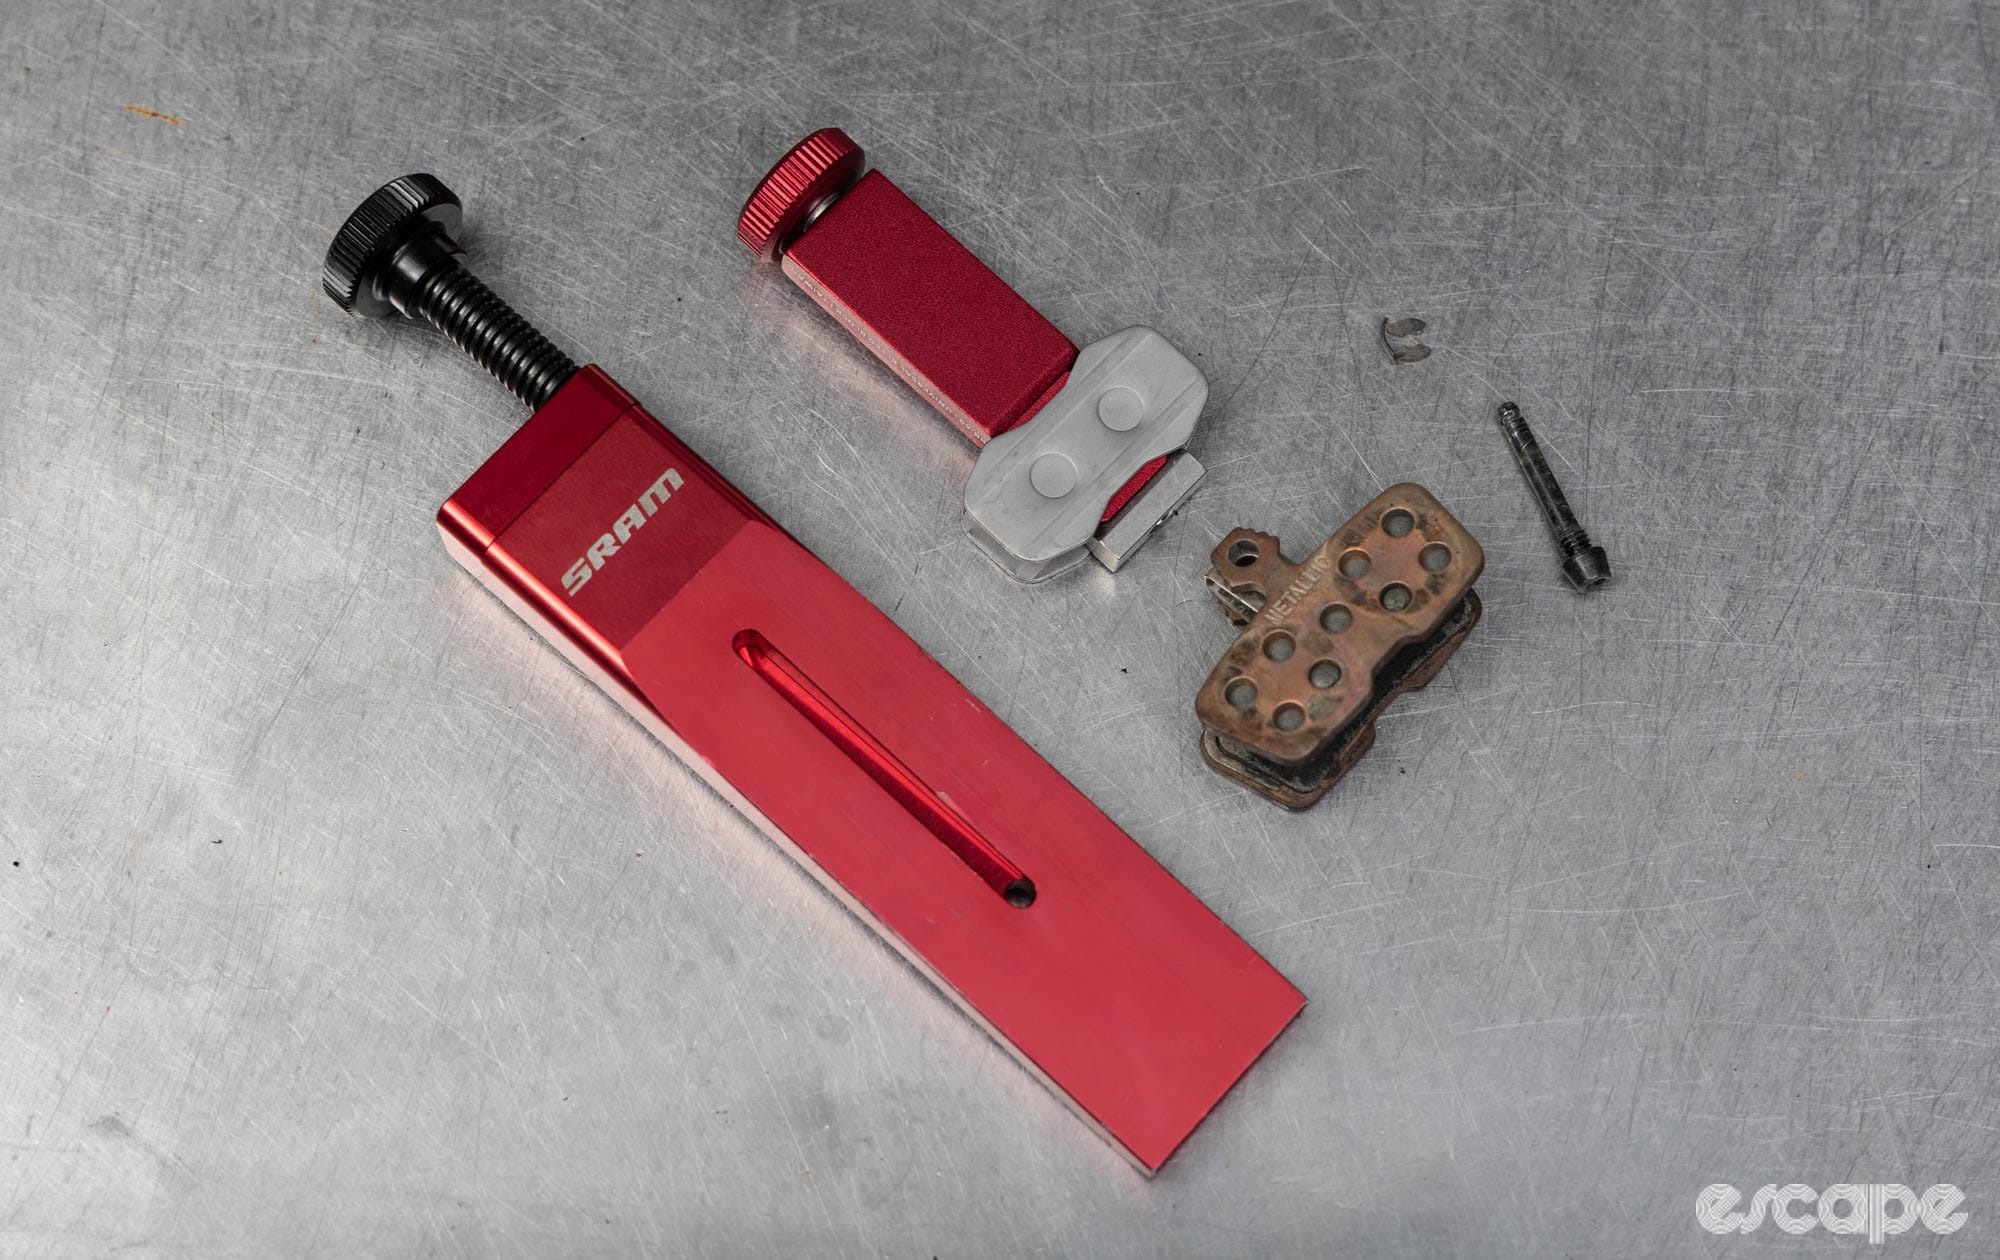
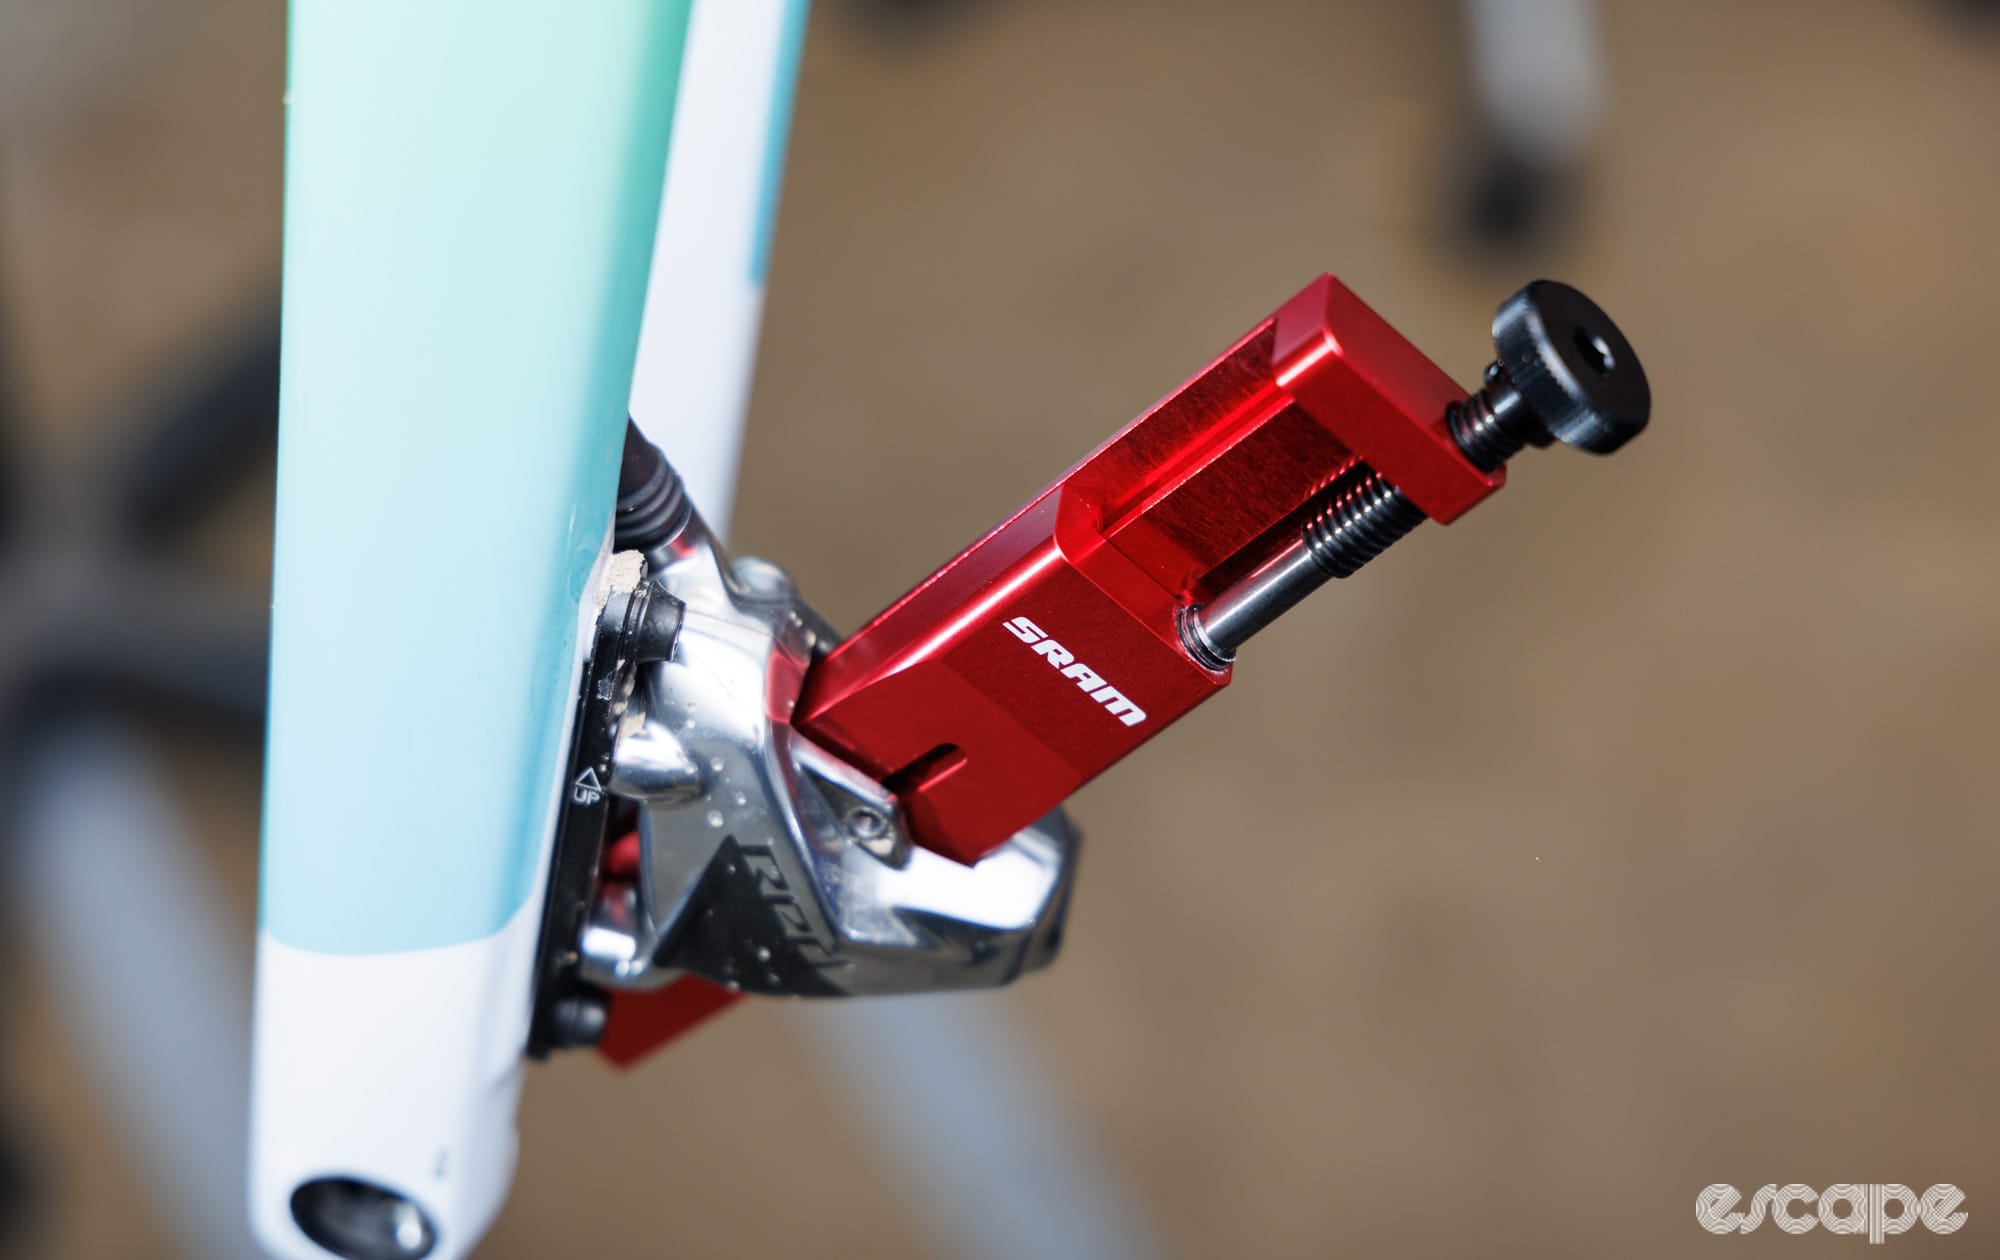
The SRAM Ultimate Piston Press (left) and CMH Design's wedge tools (right).
Despite having all these tools, I still often find myself reaching for the plastic tyre lever which is often faster and provides better tactile feel. Other mechanics prefer to use the box end of a 13 or 14 mm combination spanner (this is the most traditional method), while others recommend the rubber-coated handle of a Park Tool cone wrench.
Whatever method you choose, just remember the goal is to push those pistons back evenly, squarely, smoothly, and without damaging the edge of a piston (Shimano ceramic pistons are especially fragile in this regard).
That all said, there are some extra steps that I and many other mechanics would do when servicing a brake. Let’s take a look at these extra steps.
Before and after.
The full clean
For those keen on going a little further, you can use this opportunity to treat your caliper pistons to a deeper clean and get them sliding more freely. “I think most people do not take this opportunity to free up sticky or seized pistons,” said pro race mechanic Brad Copeland.
Did we do a good job with this story?