
Disc brake bed-in. You’ve likely heard of it, or better yet, you know what it is. For anyone with disc brakes, it’s an important step in the initial setup that not only provides better braking power and smoother operation but also helps ward off unwanted noises and even premature wear.
If you’ve ever ridden a brand-new disc-equipped bike or rolled out the door with fresh brake pads, then you may have experienced a few scary moments where it felt like the brakes weren’t going to stop you. And you may have also experienced a few honk noises in the process. These are early indicators of brakes that have not been bedded in.
To some, the brake bed-in process is more an art than a science, a concept that cannot be described and only felt. To a rarer few it’s a mythical construct, perhaps held in similar regard to the tooth fairy or the perfect gravel tyre. In this edition of Threaded, I’m here to explain why it’s not only a critical assembly step, but also how easy it can be to do.
A moment of admission. I started writing this article two years ago and quickly became overwhelmed in the science and nuances from differing approaches and materials. Having climbed out of that hole, I’ve come to realise that just doing a basic bed-in is vastly better than none, and so while you’ll get differing approaches, a general quick process will get you firmly into the realm of good enough and safe.
Let’s begin.
The critical bed-in and a strong opinion
Brake bed-in is the process of transferring a layer of pad material onto the disc rotor surface. It’s this transfer of friction material that allows a disc brake to work efficiently and effectively. A proper bed-in procedure ensures a smooth and consistent material transfer.
On the flipside, not performing a dedicated bed-in can result in an uneven surface, leading to inconsistent braking, vibrations, and noise. Also, a brake that isn’t bed-in will offer no power for the first few stops. Ignoring the longer-term issues of not bedding in brakes, this lack of initial bite can present a dangerous scenario.
I’m strongly of the opinion that a basic bed-in should be done as a purposeful task that isn’t left to do during a ride where the process will almost certainly be compromised or ruined. I’m equally of the opinion that it should be considered part of the initial bicycle assembly or service, and that a build/repair is incomplete without it. More on this specific matter later on.
In addition to being quieter, more consistent, and often longer-lasting, a well-bed-in brake is significantly more powerful, with brake sensor creator BrakeAce seeing braking power double from start to finish during the procedure.
While there can be nuanced differences between what each brand recommends, the bed-in process is largely consistent across all disc brake systems, whether that’s hydraulic or mechanical, from Shimano, SRAM, Campagnolo, Magura, TRP, Hope, Hayes, or just about any other brand – across mountain, road, gravel, and commuting bikes.
Before you begin, a brake bed-in needs to be done when everything is still brand new. It’s also recommended that you do a bed-in whenever changing brake pads and/or rotors. It’s a rabbit hole I want to avoid, but it’s worth noting that all brake manufacturers recommend against switching brake pad material (say from organic to metallic) without also changing the rotor.
And now for the quick safety notice. A topic like this assumes some level of mechanical know-how and a more than beginner riding level. If in doubt, consult a professional.

Hey, it's Dave Rome here.
Like what you're reading? You'll have to be a member to read it all. Escape Collective is 100% membership-funded, with no advertising and no affiliate links in our tech reviews and write-ups.
Everything that Escape offers, including my mechanics-focused Threaded series (for which there are now 44 editions!), is only possible through your support.
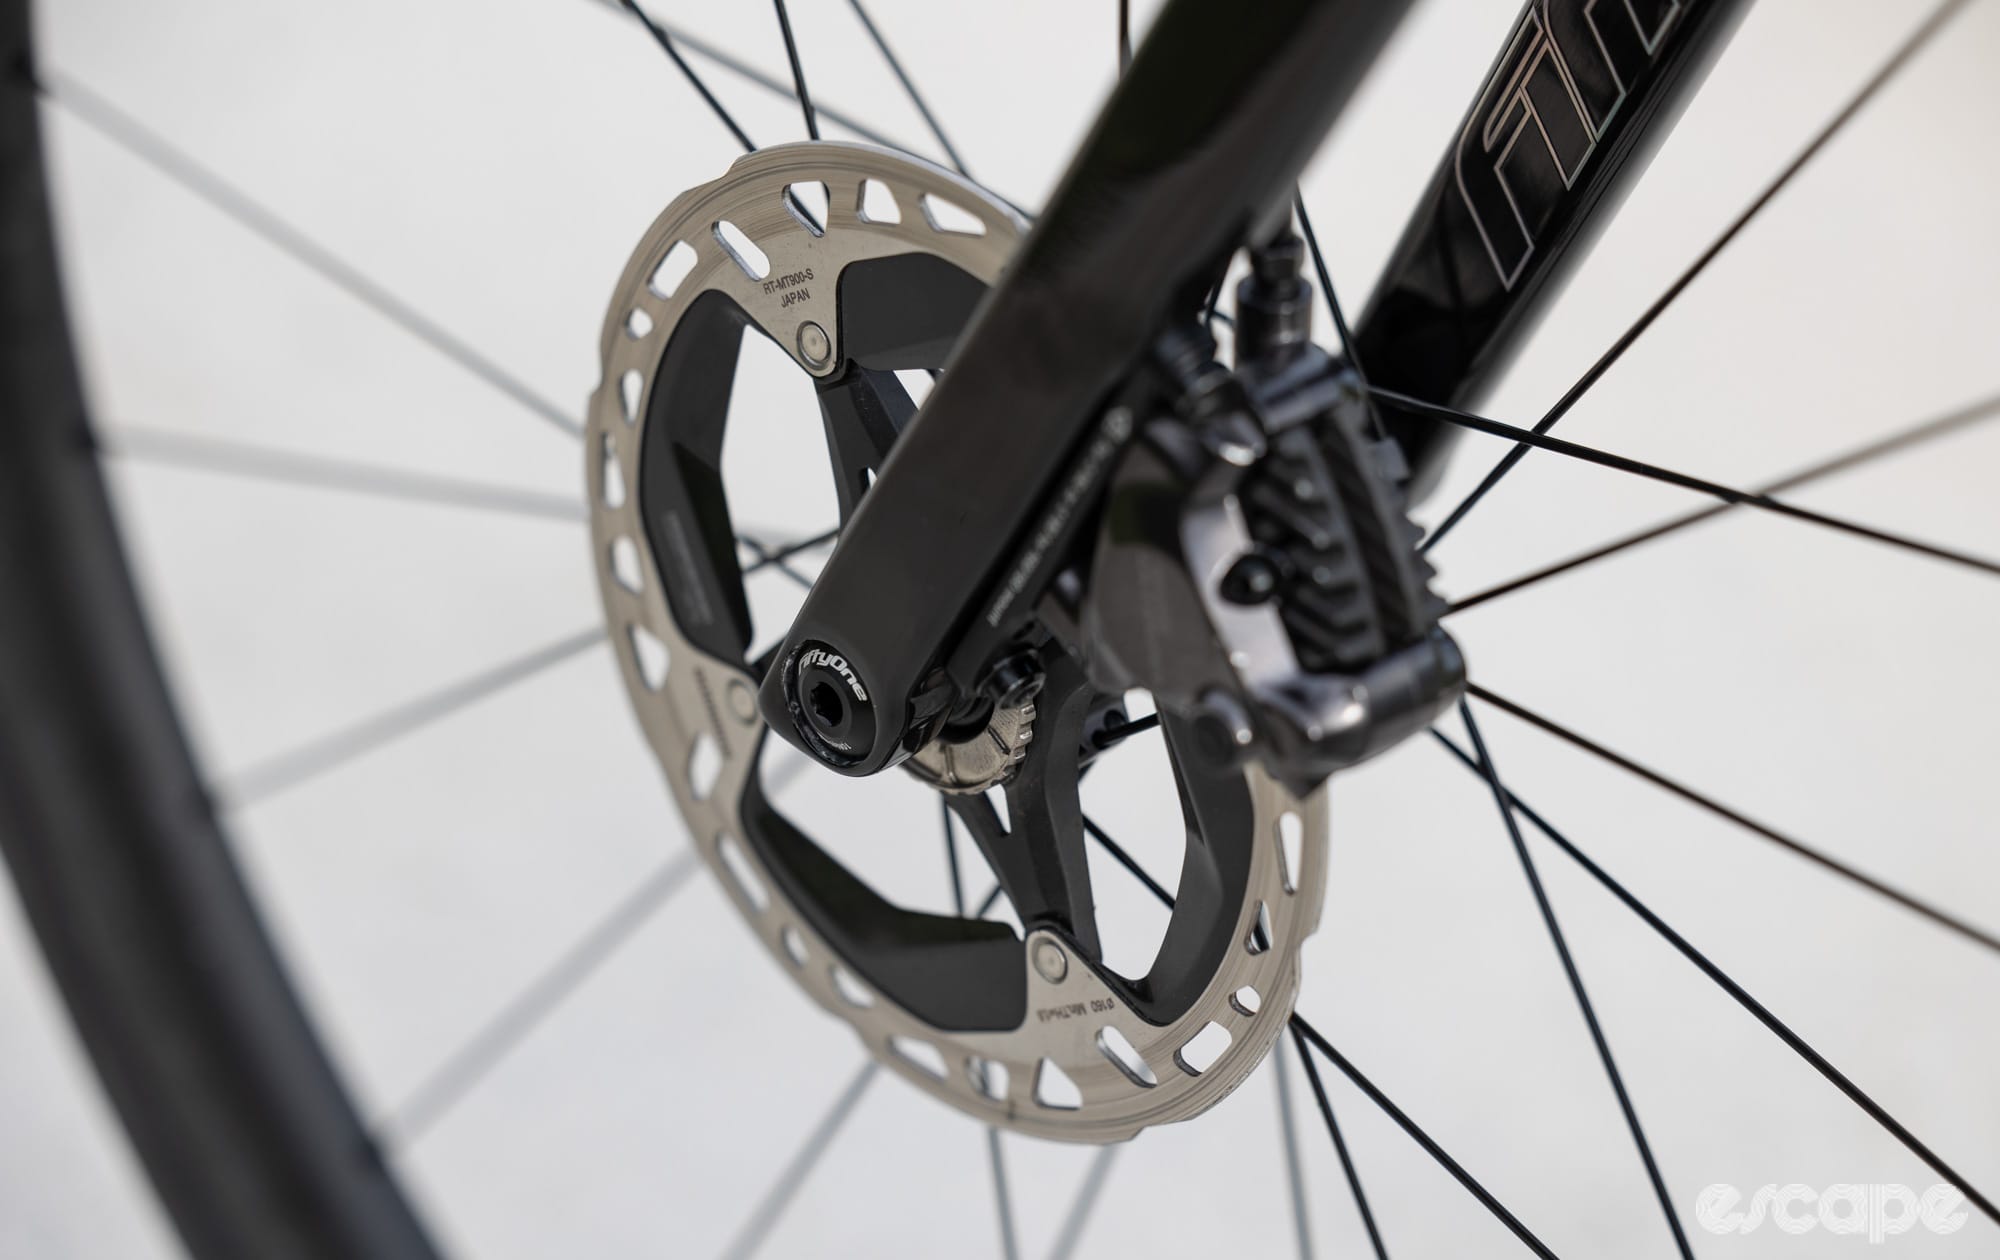
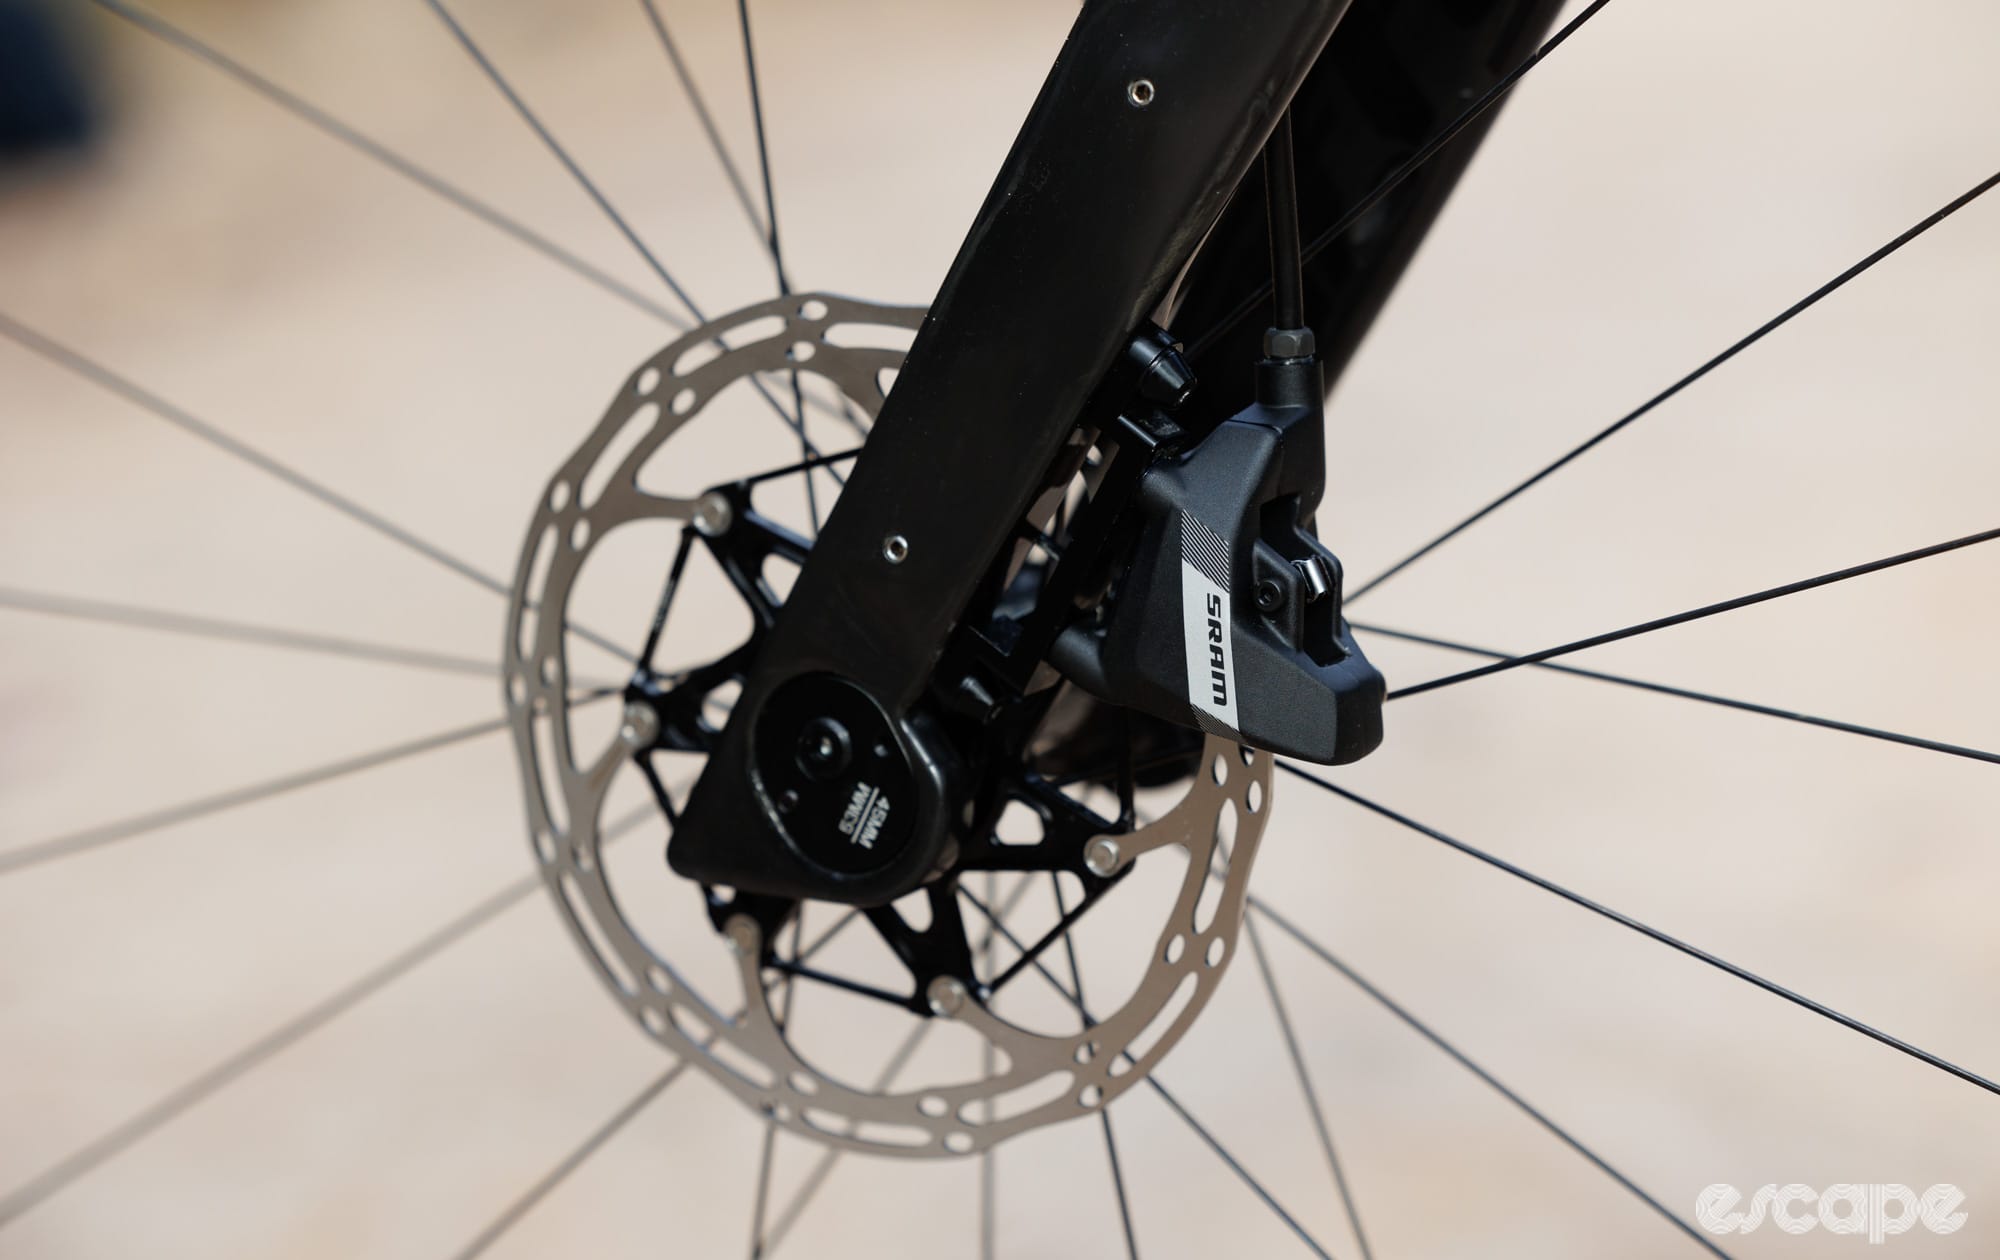
Step one: Clean everything
To conduct a proper bed-in, it’s essential to begin with a fresh and clean system, one that’s correctly set up where the brake pads are evenly and squarely contacting the rotor. It’s also important to check that the brake is free from any defects, such as leaks from the caliper pistons or hose.
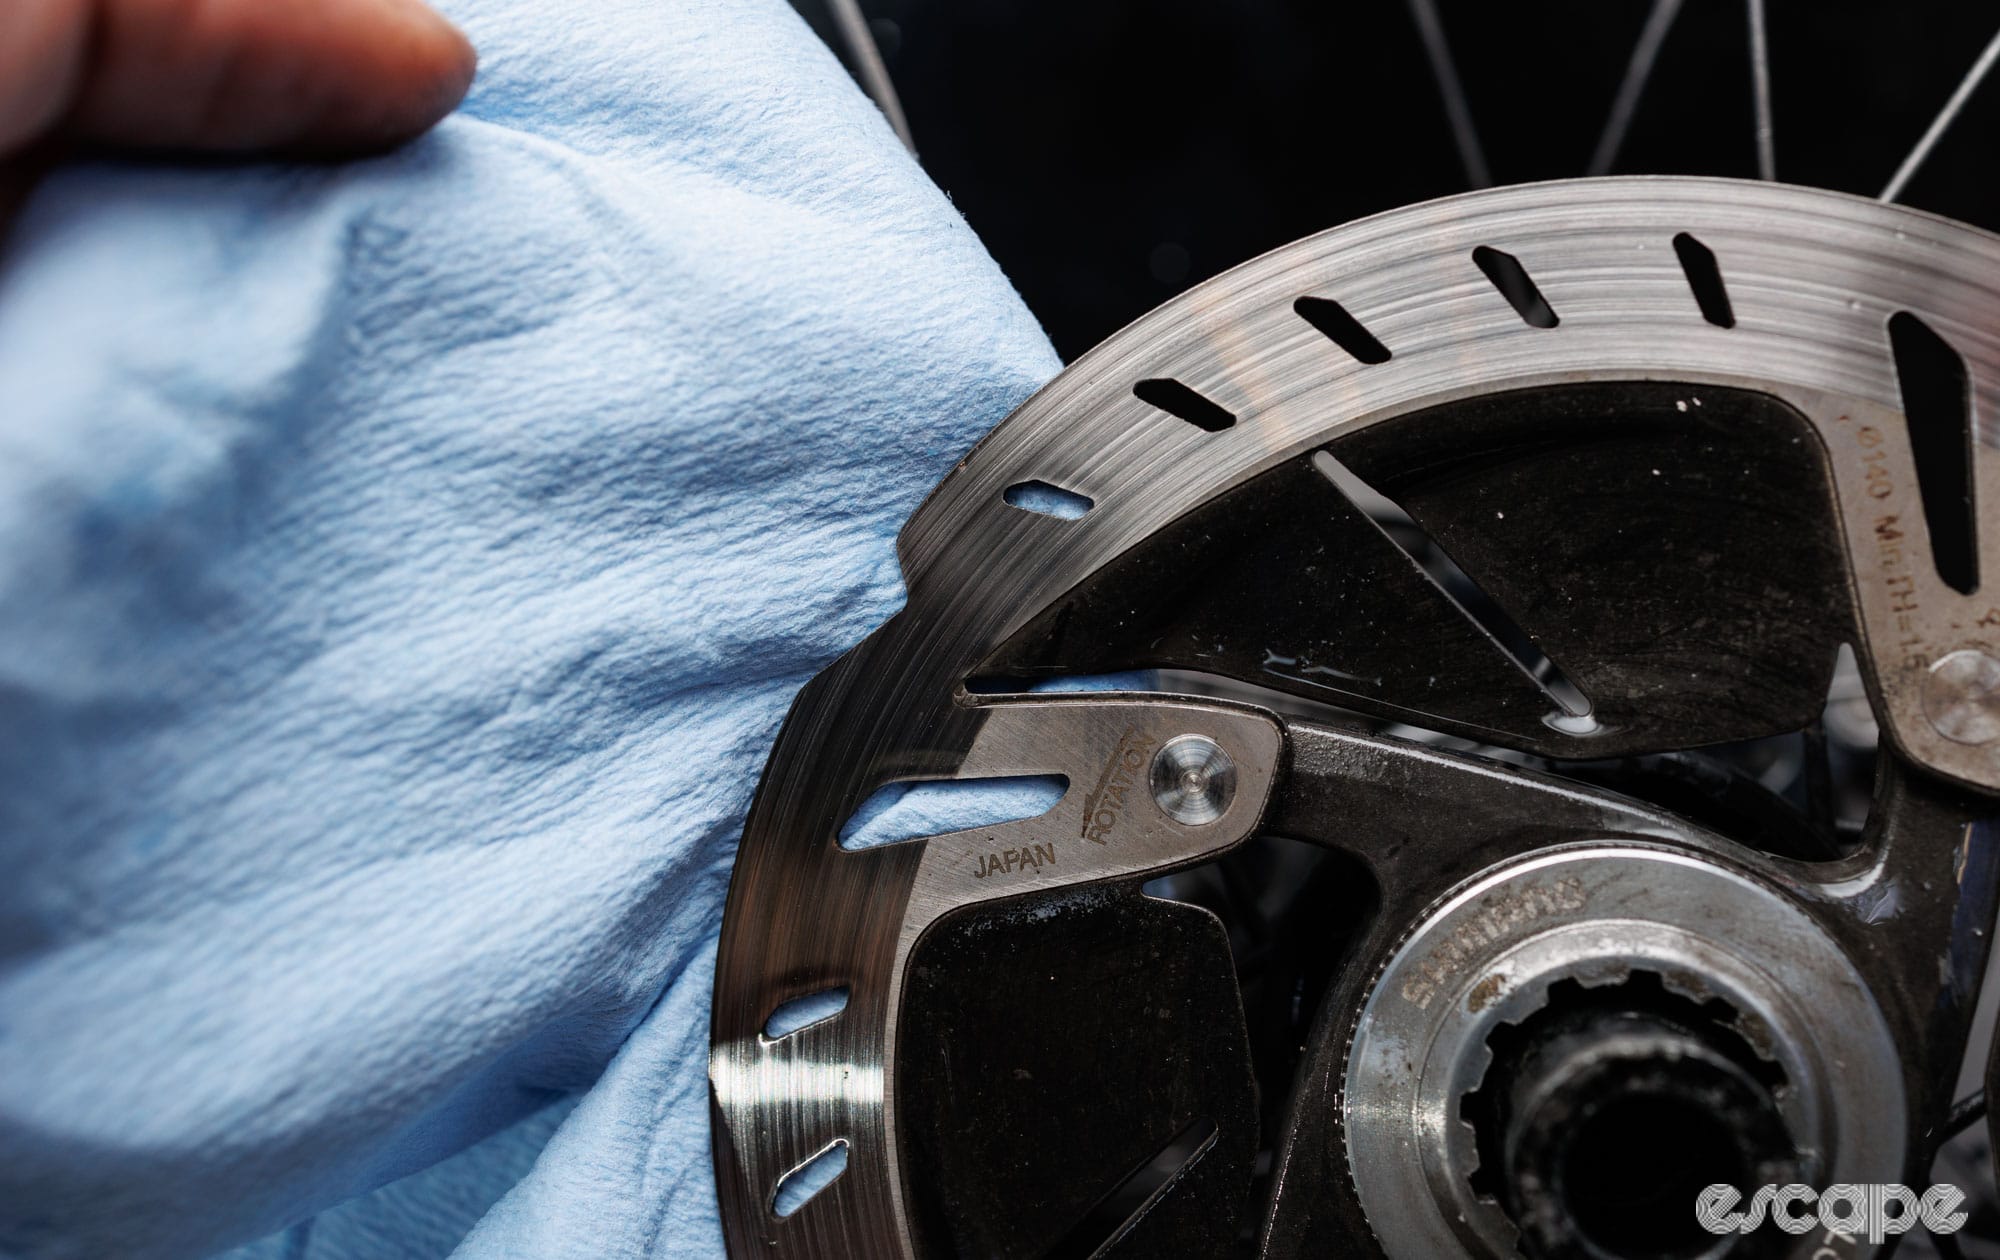
Clean is a word often used whenever discussing disc brakes, and unfortunately, new doesn’t necessarily mean clean. Chris Yankopoulos, a Shimano technical representative in the USA, often instructs dealers to clean brand new rotors, whether installed on a new bike or in aftermarket packaging, prior to use. It’s a tip that Boulder-based mechanic Colin Williams often shares on Instagram, too.
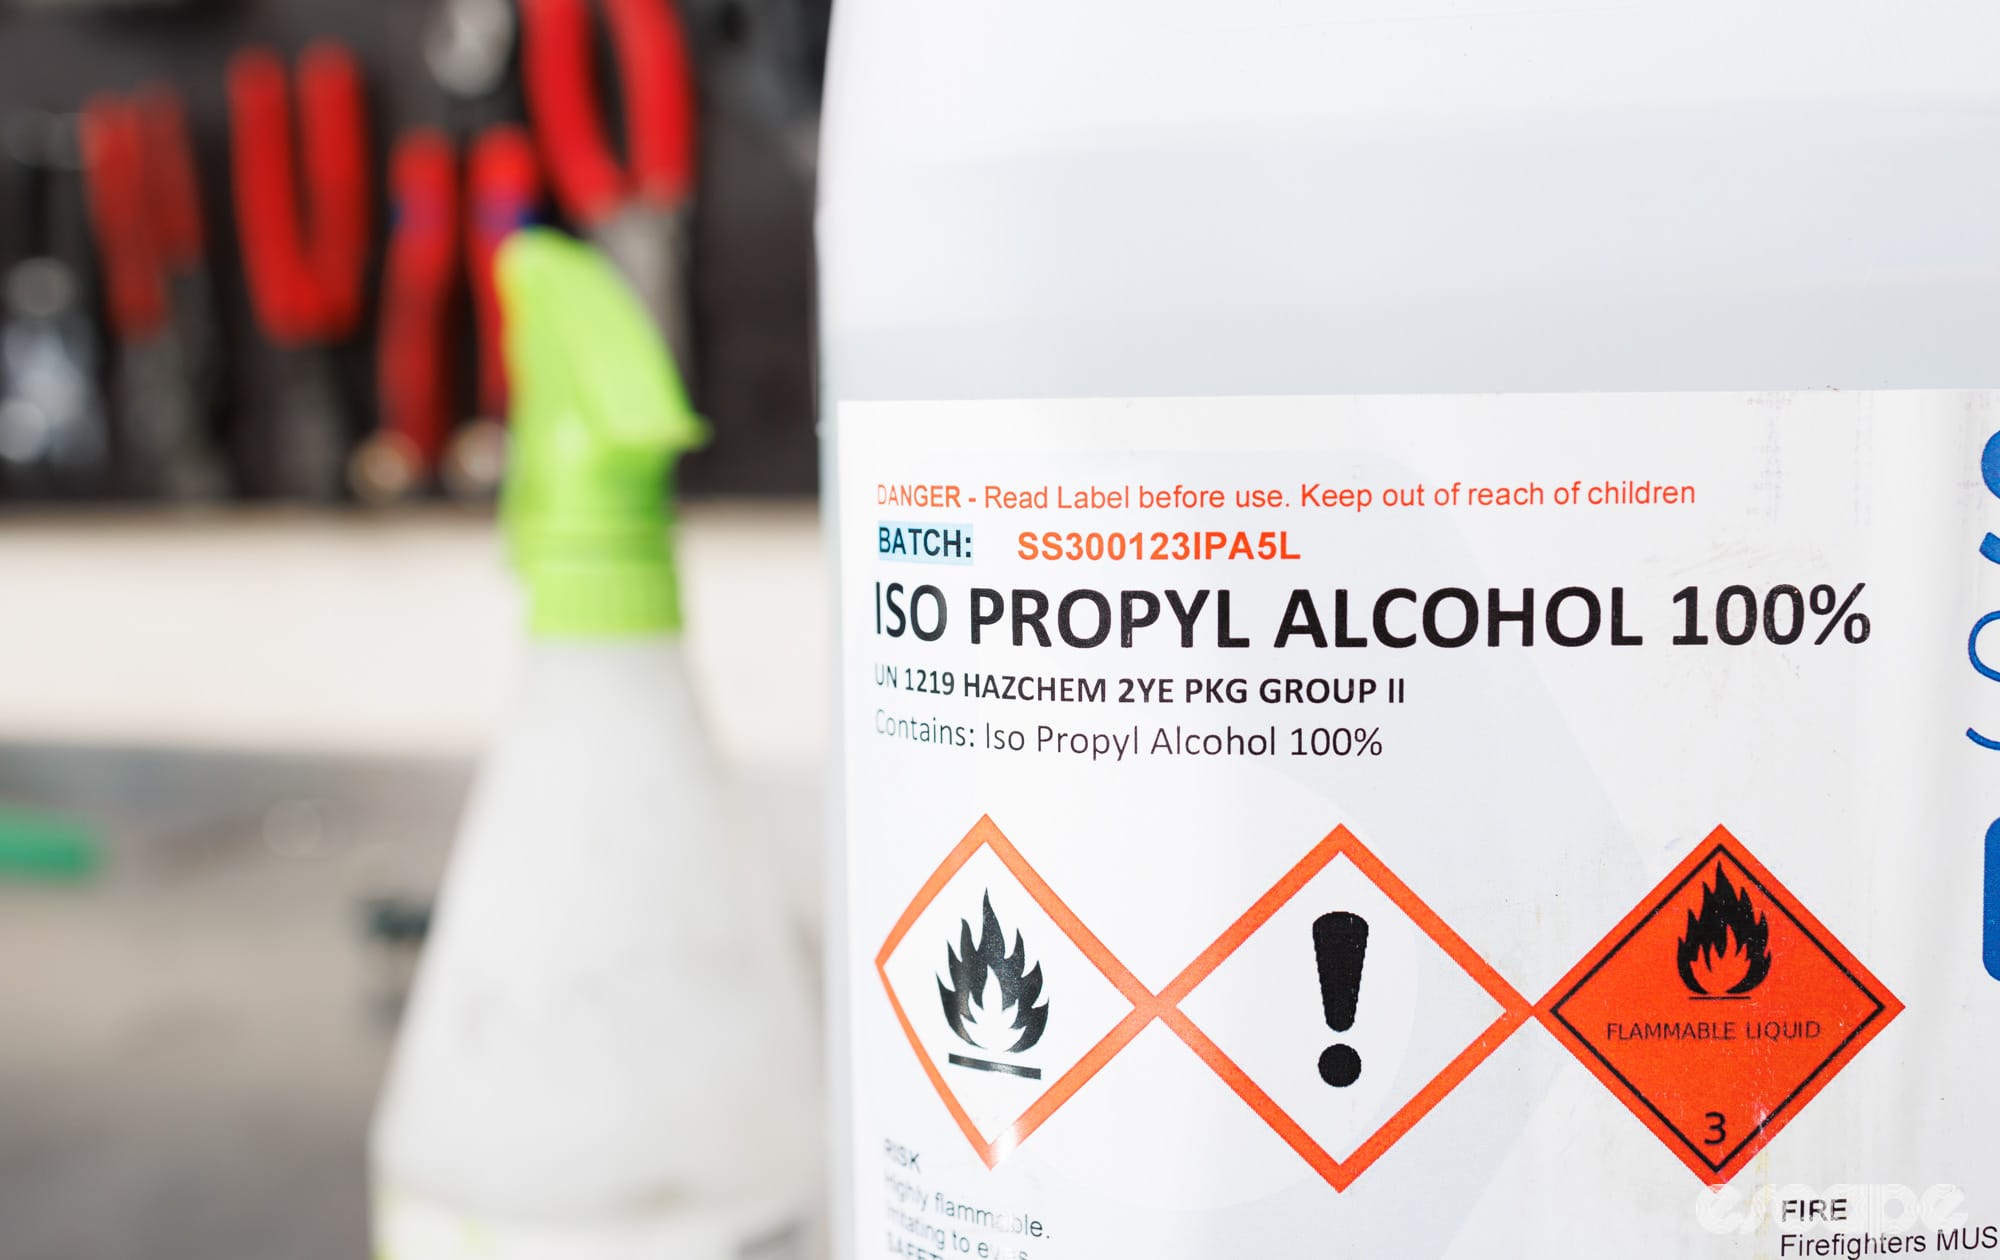
Cleaning a rotor doesn’t need to be complicated. I recommend the use of isopropyl alcohol and a fresh piece of paper towel (Scott’s Shop Towel is the GOAT). Most often the paper towel will come up clean, but occasionally, you’ll see how dirty new rotors can be.
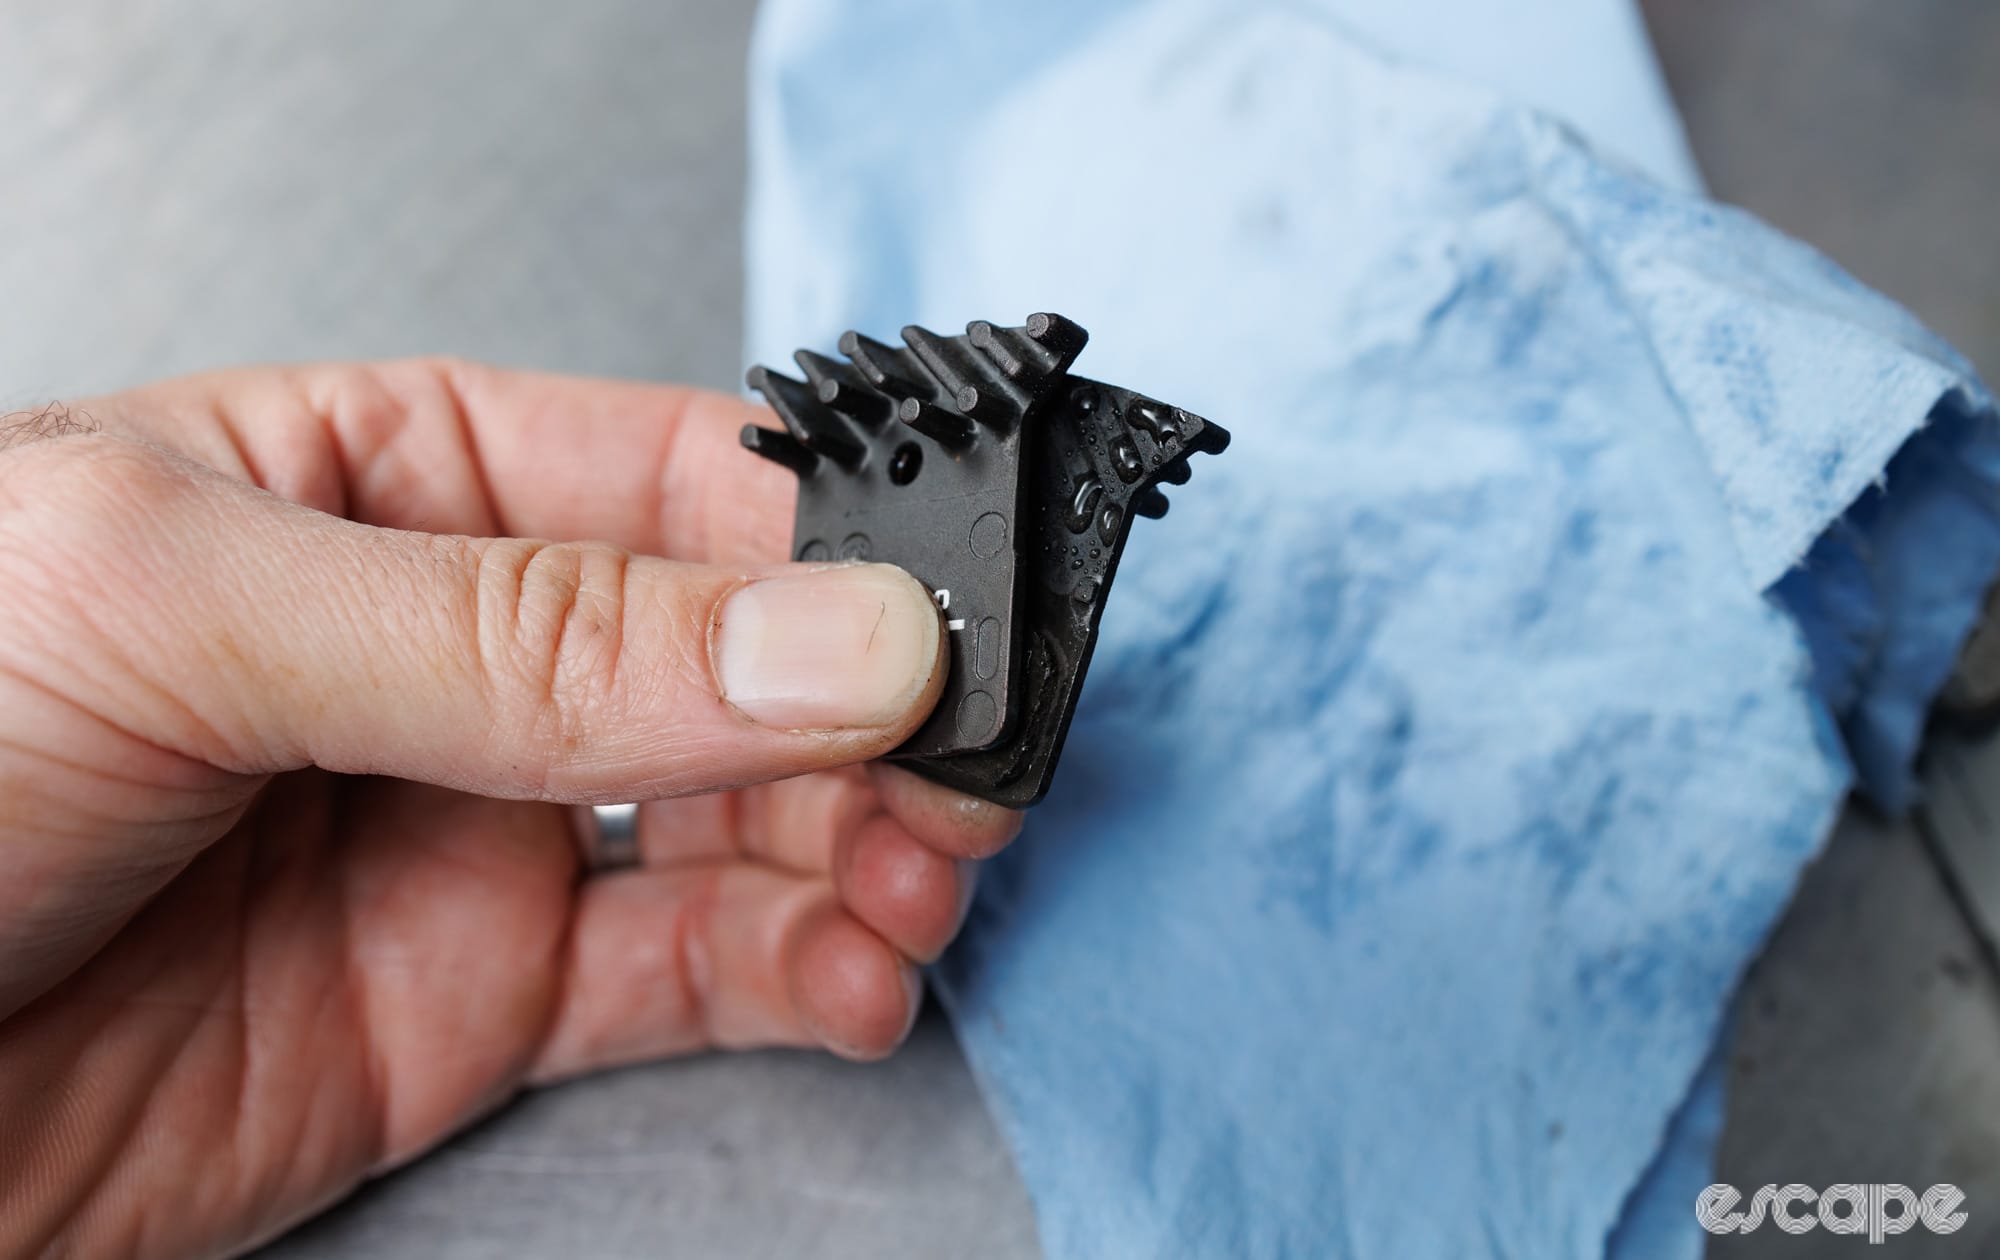
While rotors need to be cleaned, the brake pads should already be clean and ready to use from new. That said, for years I’ve taken a quick step to surface the pads in a way that I feel helps reduce the time of the initial bed-in. This optional step consists of taking the pads in your hand, spraying/splashing some clean water on them, and then rubbing them together until you feel them go from slippery to gripping. I’ll then spray some more water to rinse off the slurry, and I’ll then install them into the bike.
If it’s an old existing rotor and you’re just replacing the pads with a matching compound, then a quick rinse of the rotor with water and wipe with isopropyl alcohol is sufficient. For example, John Hall, the former mechanic to World Cup downhill racer Aaron Gwin, explained, “I avoid replacing rotors for as long as I can. The more pad material built up on a rotor without being worn out or contaminated the better.”
Step two: Smoothly does it
Did we do a good job with this story?